• Which the release of FS2020 we see an explosition of activity on the forun and of course we are very happy to see this. But having all questions about FS2020 in one forum becomes a bit messy. So therefore we would like to ask you all to use the following guidelines when posting your questions:

    • Tag FS2020 specific questions with the MSFS2020 tag.
    • Questions about making 3D assets can be posted in the 3D asset design forum. Either post them in the subforum of the modelling tool you use or in the general forum if they are general.
    • Questions about aircraft design can be posted in the Aircraft design forum
    • Questions about airport design can be posted in the FS2020 airport design forum. Once airport development tools have been updated for FS2020 you can post tool speciifc questions in the subforums of those tools as well of course.
    • Questions about terrain design can be posted in the FS2020 terrain design forum.
    • Questions about SimConnect can be posted in the SimConnect forum.

    Any other question that is not specific to an aspect of development or tool can be posted in the General chat forum.

    By following these guidelines we make sure that the forums remain easy to read for everybody and also that the right people can find your post to answer it.

MSFS Blender cloth simulation baked to bones

Messages
372
Country
austria
HowTo do a cloth animation baked to bones exported to msfs:

Start with a cylinder and add some segments
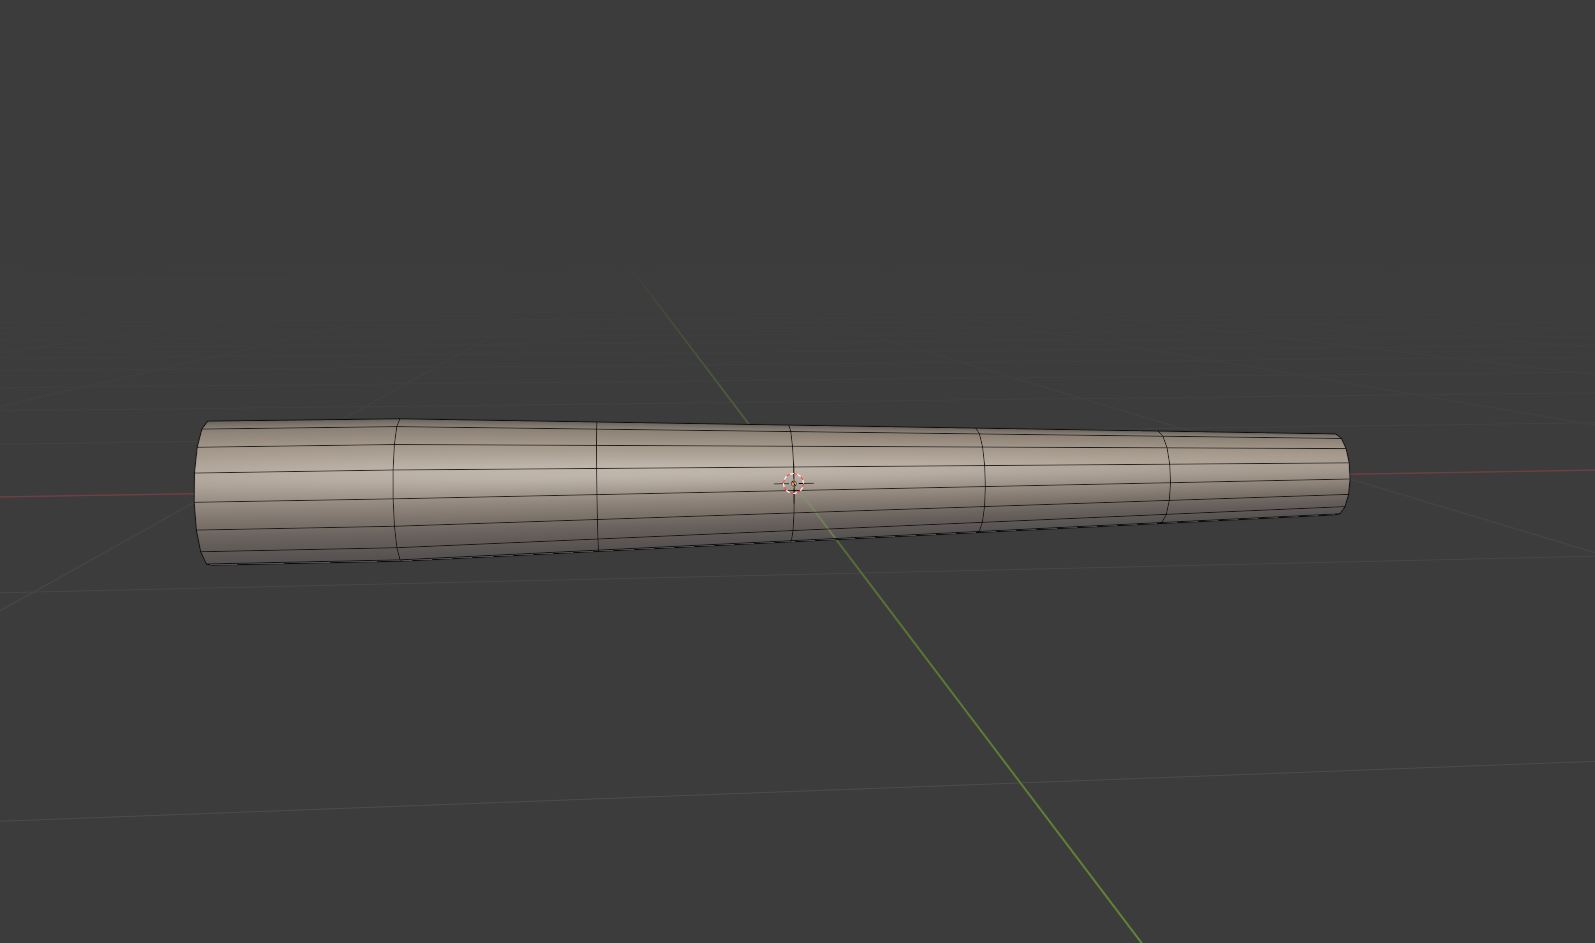
2021-03-03 20_06_15-Window.jpg


Add a armature in the middle of the cylinder and place the tips of each bone at one segment. There has to be one bone at the beginning of the cylinder.
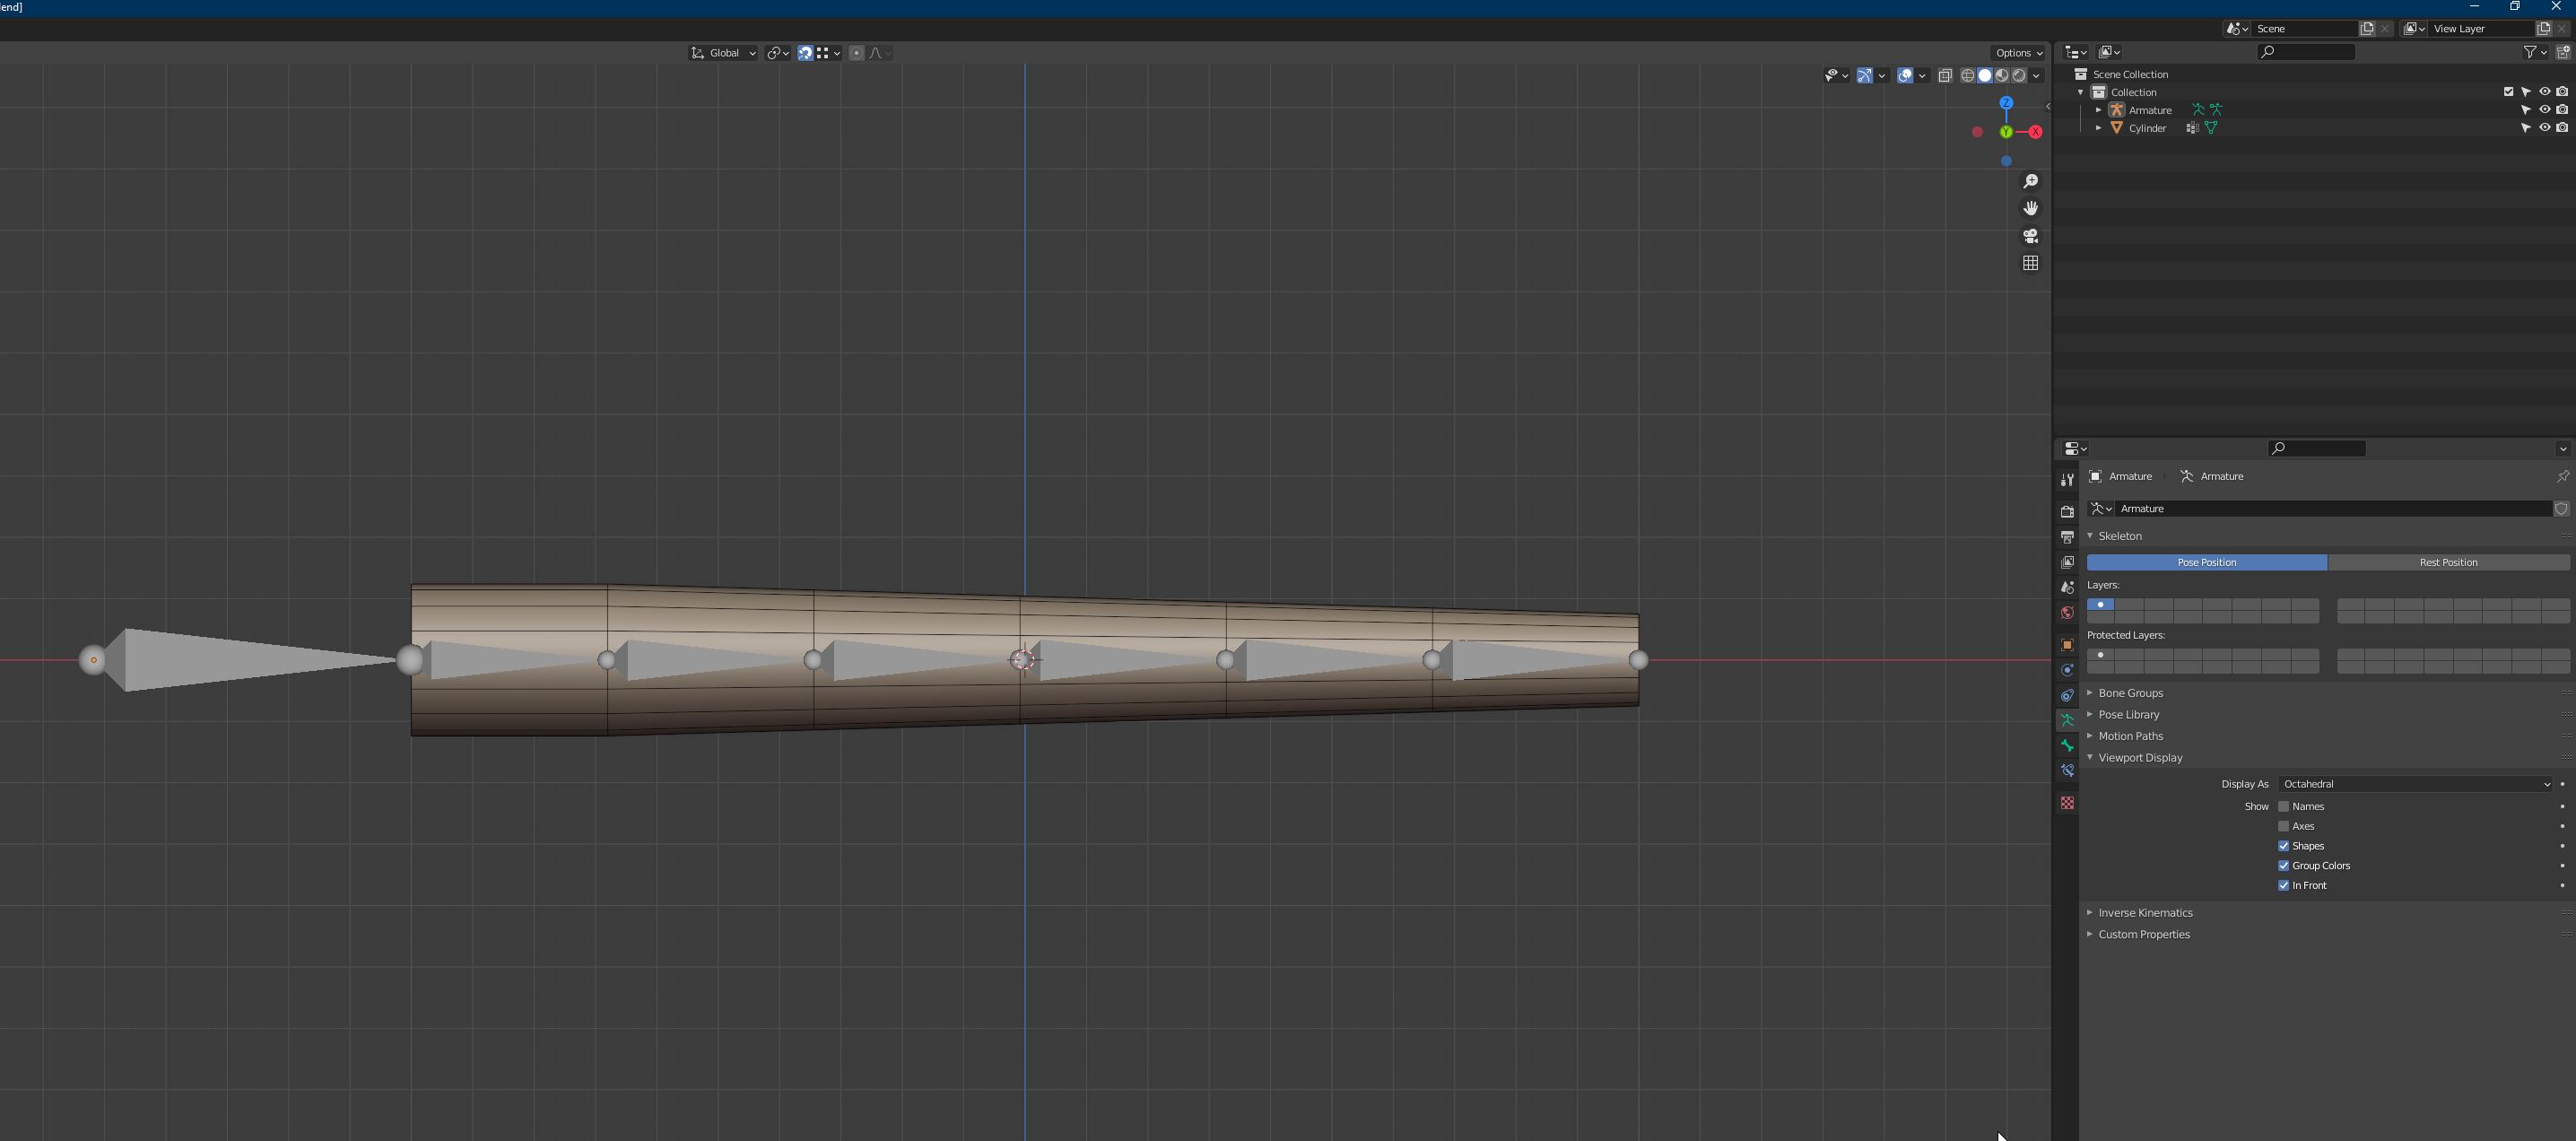
2021-03-03 20_10_25-Window.jpg


Add a vertex group for every segment of the cylinder and a pin group
2021-03-03 20_10_43-Window.jpg


Assign each segment ring to one vertex group and the first two segments are the pin group
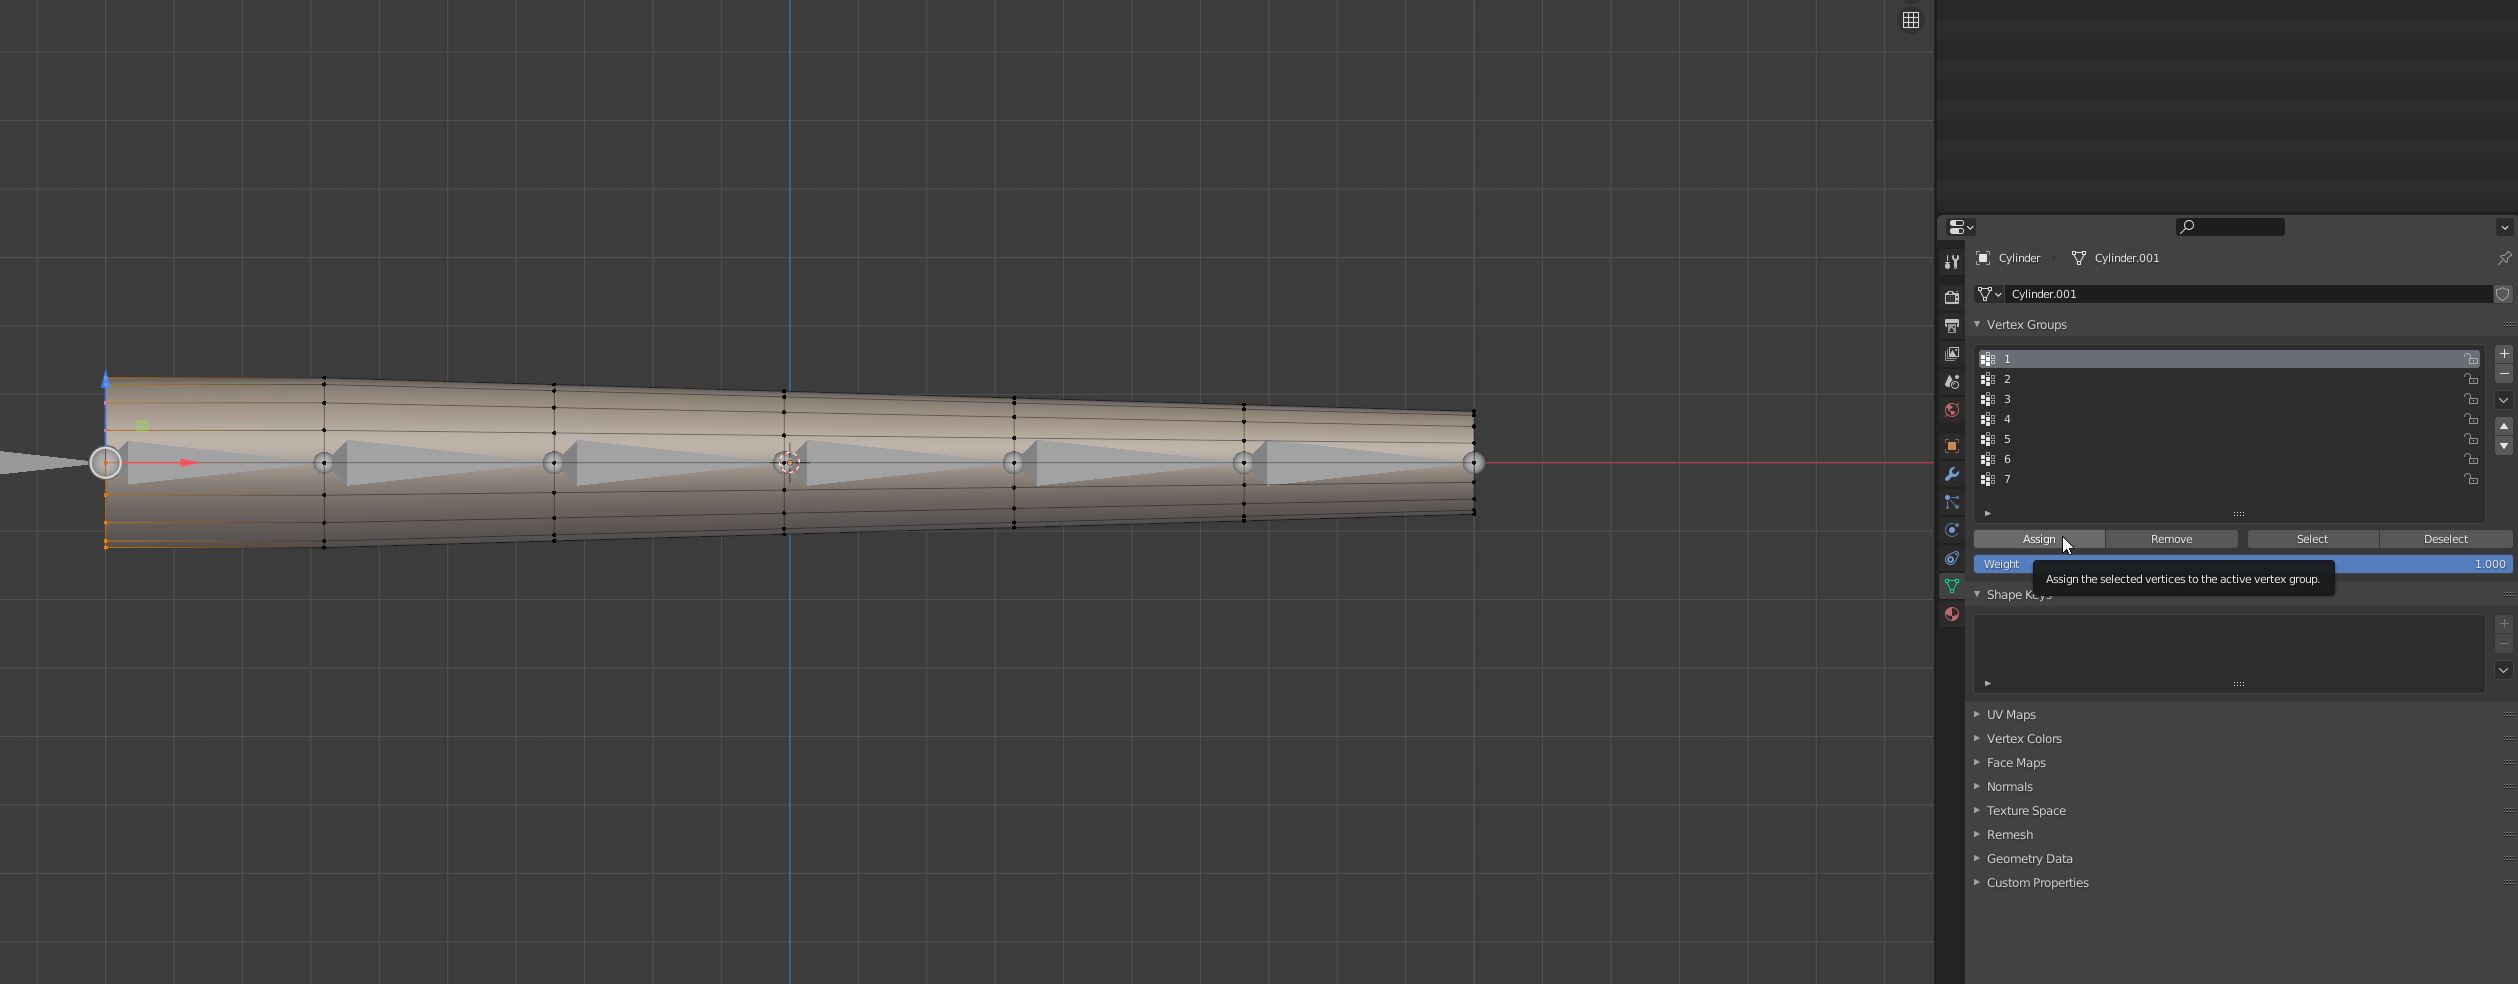
2021-03-03 20_11_08-Window.jpg


After that select the armature and go to pose mode. Select the first bone and go to the constrains menu. Select inverse kinematics.
2021-03-03 20_12_59-Window.jpg


Set the target to the cylinder and the vertex group to that group that is at the tip of the bone. Set the chain length to 1
2021-03-03 20_13_36-Window.jpg


Do this for every bone
2021-03-03 20_14_06-Window.jpg


2021-03-03 20_15_48-Window.jpg


Here comes the pin group forgot that earlier.
2021-03-03 20_16_16-Window.jpg


After that set some physics to the cylinder. Add a cloth physic. And adjust the settings.
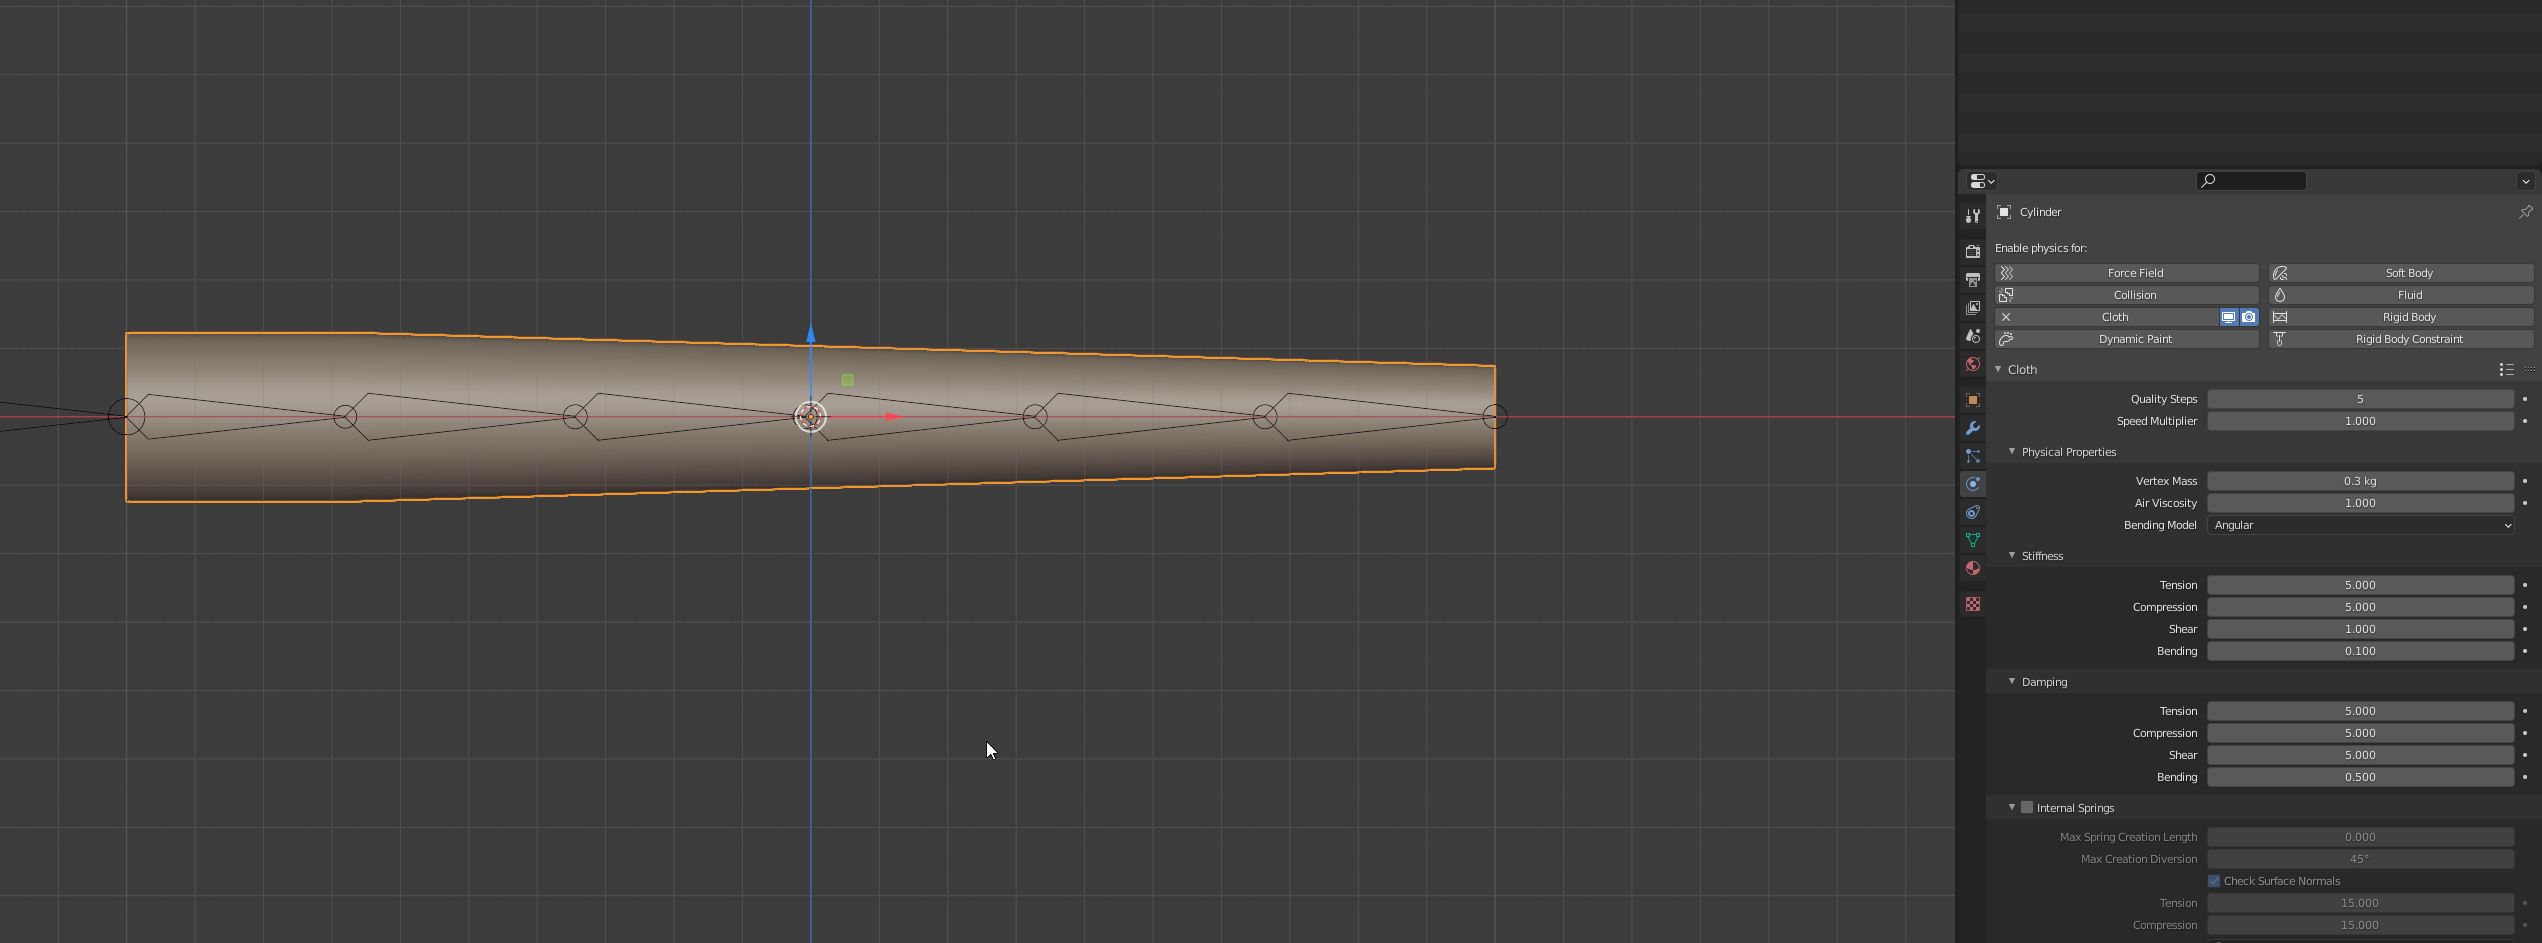
2021-03-03 20_17_12-Window.jpg
 
Messages
372
Country
austria
Set the pin group in the shape settings of the cloth physics
2021-03-03 20_17_45-Window.jpg


I used this settings for a test
2021-03-03 20_23_39-Window.jpg


Add a force field Wind and set the strength to 500 rotate it that the force go right through the cylinder.

Run the animation in the timeline. Now you see the cylinder moving in the wind and the bones following the cylinder. Find a sweet spot where the animation is smooth running in a loop circle without big jumps at the end. Limit the frames to this sequence. Mine was from 140 - 173

2021-03-03 20_25_31-Window.jpg


Select the armature and go to pose mode. Select all bones.

2021-03-03 20_26_01-Window.jpg


Click on Pose/Animation/Bake Action
2021-03-03 20_26_24-Window.jpg


Check the first 3 Checkboxes and hit OK
2021-03-03 20_26_40-Window.jpg


Now you got the keyframes.
2021-03-03 20_27_04-Window.jpg


Remove the cloth physics from the cylinder and delete the force field (no longer needed)
2021-03-03 20_27_49-Window.jpg


Parent the cylinder to the armature.
2021-03-03 20_28_15-Window.jpg


Select the armature and then the cylinder (that the cylinder is the active object)
2021-03-03 20_28_56-Window.jpg
 
Messages
372
Country
austria
Switch to weight paint mode.
2021-03-03 20_29_27-Window.jpg


Set the falloff to constant (then you get a weight of 1 with one click)
2021-03-03 20_29_54-Window.jpg


Shift click on the first bone then paint the vertex on the tip with a weight of 1.

2021-03-03 20_31_56-Window.jpg


And move on like this.
2021-03-03 20_32_20-Window.jpg


Shift click the second and paint the next ring.

Switch the view to paint the vertex on the backside too. It looks like that even in wireframe view you don’t get them. So you have to rotate the view to paint them.
2021-03-03 20_35_08-Window.jpg


after finishing the weight painting. Go to the dope sheet action editor and push down the animation to the nla track.
2021-03-03 20_41_52-Window.jpg


The last step before exporting and most important one to remove the distortions in the sim.

Add an empty (I always use plain axis).

Select the armature and the cylinder and last the empty (with shift klick).

The empty should be the active opject. Now parent the armature and the cylinder to the empty. Parent/object.
2021-03-04 19_57_48-Blender_ [E__Gaming Assets_BlendFiles_Mikeaat-AssetPack_Windsock_Mikeaat-W...jpg


Select all 3 parts and export it as usual.
2021-03-03 20_43_18-Window.jpg


Edit the xml to integrate the animation.

Compile the pack and enjoy
 
Messages
84
Country
france
Thanks for this very well documented tutorial :)

I tried it, and it works pretty nice exept is not close to real in game since the animation makes the mesh doing some weird flex lol
Anyway, I'm gonna use 3DS max now for such animations

Thanks a lot again :)
 
Messages
372
Country
austria
Sounds crazy, with this approach i get a animation in the game 95% like in blender Without any crazy mesh distortions. :)
 
Messages
300
Country
unitedkingdom
Superb tutorial, thanks.

How do we get from here to making it react to wind direction in MSFS?

Sent from my SM-T813 using Tapatalk
 
Messages
290
Country
germany
Sorry if this is a stupid question, but I don't understand the process of exporting animated objects. If I do the things you described I get a single gltf, bin and XML file for the animated model, but shouldn't there be separate files for the model and the animation with an xml entry that links the animation GUID to the model GUID? Could you please show a screen shot of the export folder containing the exported files? Thank you!
 
Messages
372
Country
austria
The animation is in the normal files included. There is a good tut on youtube about the basic animation process.
 
Messages
290
Country
germany
The animation is in the normal files included. There is a good tut on youtube about the basic animation process.
Thank you, I was able to export the animation successfully into the sim, but as someone else stated above, I get massive mesh distortions . It seems the effect of the armature on the mesh is vastly exaggerated in the sim compared to Blender even if I parent the armature and object to an empty.
Screenshot (134).png
Screenshot (132).png
 
Messages
372
Country
austria
your parent to the empty is wrong the mesh and the armature hase to be on the same level in the outliner. your mesh is one step deeper. :)
you have to select your mesh and the armature and parent it to the empty.
 
Messages
290
Country
germany
You're right, it's working now though it's rotated 90 degrees upwards, but I can correct that. Do you know why the empty is needed for the animation to display correctly? Seems a little counterintuitive.
 
Messages
372
Country
austria
No not really, seems like msfs is reading the gltf different than default gltf viewers do.
 
Messages
171
Country
germany
Hi, thank you very much for these instructions!
If you do this for a flag - do you also use "inverse kinematics" and assign a vertex group for each vertical edge?

1617442293488.png


EDIT: I already answered for myself that this is not working... But I do not yet know how it would work. :(
 
Last edited:
Messages
124
Country
unitedstates
@Mikea.at, thank you for this. This technique helps produce much more realistic animations than I can by hand! Wonderful!

@karlo922, I cannot tell by your screenshot but have you put horizontal loop cuts behind each row of bones? I was able to get this to work on a flag to produce a nice rolling effect from the top to the bottom. I assigned each vertex to its own vertex group. And then weight painted each bone to a vertex group.

The only frustrating part of this technique is that you have to recreate the IK modifier for each animation that you want to include with the object. So, if you want to have a limp flag, a slowly waving flag, a fast waving flag and a stiff flag, it requires recreating the IK modifier several times. For a complex flag, this can take some time! Nevertheless, this has improved the quality of my cloth objects considerably!


Sent from my iPhone using Tapatalk
 
Last edited:
Messages
171
Country
germany
Hi,
thank you! For re-assigning the vertex group to the bone constraints, I wrote a small python script which you can easily adjust and include inside blender:

It works if your bones have the names:
- "Bone", "Bone.001", "Bone.002" ...
and the Vertex Groups:
- "1", "2", ...

You need to tell it what is your target mesh name and how many bones you have in the first lines. Then it will go through all your bones and assign the Vertex group to it. Saves really much time :)
It works for me if I'm in Pose Mode and each Bone shall be assigned to one Vertex which is also one VertexGroup. Like you proposed.

1617524193642.png


Code:
# --- SOME DEFINITIONS ------------------------------
NameOfTarget = "EDSP_Flagge" # insert Target Mesh name
TotalNumberBones = 65 #insert total number of bones
BoneCounter = 0 #start value, will work with bone names: Bone, Bone.001, Bone.002, ...
#---------------------------------------------------

import bpy
while BoneCounter <= TotalNumberBones:
    if BoneCounter == 0: #first bone simply called "Bone"
        BoneString = "Bone"
    elif BoneCounter < 10: #make sure to have correct count of "0" in name
        BoneString = "Bone.00"+str(BoneCounter)
    elif BoneCounter < 100:
        BoneString = "Bone.0"+str(BoneCounter)
    else:
        BoneString = "Bone."+str(BoneCounter)
    
    VertexString = str(BoneCounter+1) # Vertex is always one number greater, e.g. Bone.001 -> VertexGroup 2
    #print(BoneCounter)
    #print(BoneString)

    #Do it!
    o=bpy.context.object
    b=o.data.bones[BoneString]
    b.select=True
    o.data.bones.active=b
    bpy.ops.pose.constraint_add(type='IK')
    bpy.context.object.pose.bones[BoneString].constraints["IK"].target = bpy.data.objects[NameOfTarget]
    bpy.context.object.pose.bones[BoneString].constraints["IK"].chain_count = 1
    bpy.context.object.pose.bones[BoneString].constraints["IK"].subtarget = VertexString

    #Next bone
    BoneCounter=BoneCounter+1
 
Last edited:
Top