• Which the release of FS2020 we see an explosition of activity on the forun and of course we are very happy to see this. But having all questions about FS2020 in one forum becomes a bit messy. So therefore we would like to ask you all to use the following guidelines when posting your questions:

    • Tag FS2020 specific questions with the MSFS2020 tag.
    • Questions about making 3D assets can be posted in the 3D asset design forum. Either post them in the subforum of the modelling tool you use or in the general forum if they are general.
    • Questions about aircraft design can be posted in the Aircraft design forum
    • Questions about airport design can be posted in the FS2020 airport design forum. Once airport development tools have been updated for FS2020 you can post tool speciifc questions in the subforums of those tools as well of course.
    • Questions about terrain design can be posted in the FS2020 terrain design forum.
    • Questions about SimConnect can be posted in the SimConnect forum.

    Any other question that is not specific to an aspect of development or tool can be posted in the General chat forum.

    By following these guidelines we make sure that the forums remain easy to read for everybody and also that the right people can find your post to answer it.

FS2004 (FSX & X-Plane 10) Bell 429: she is slowly getting some shapes

Messages
1,451
Country
mexico
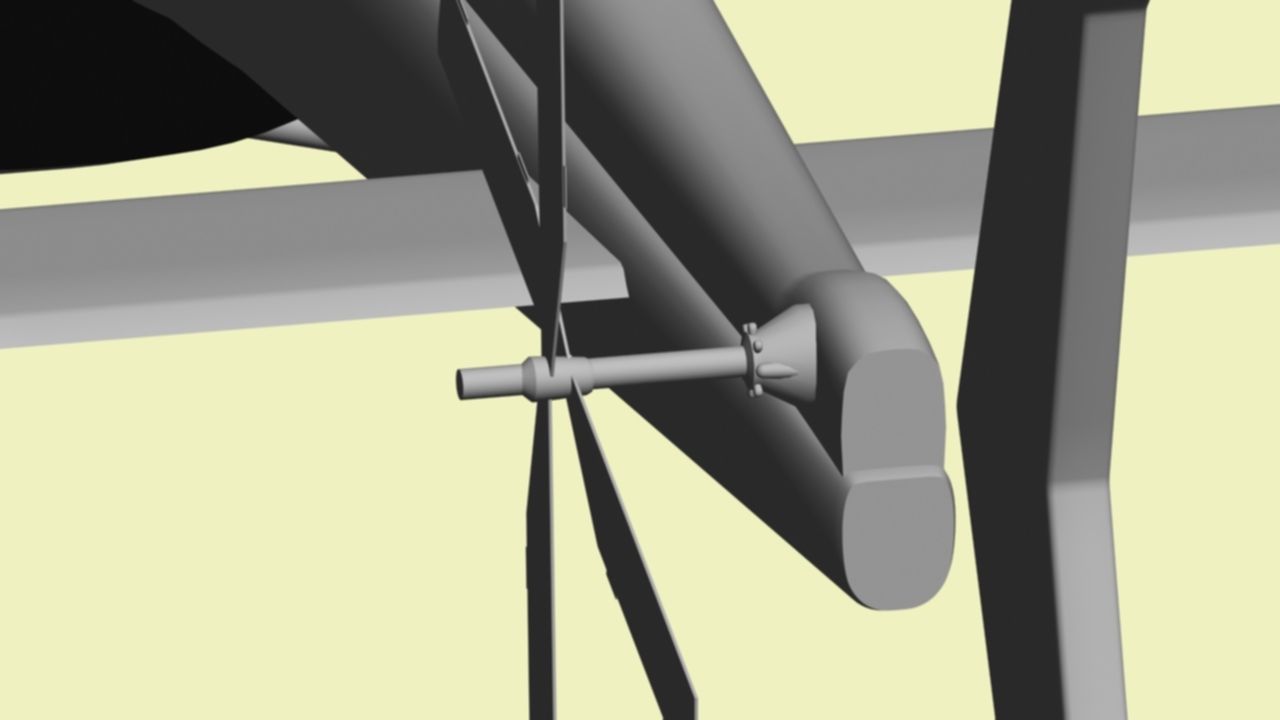
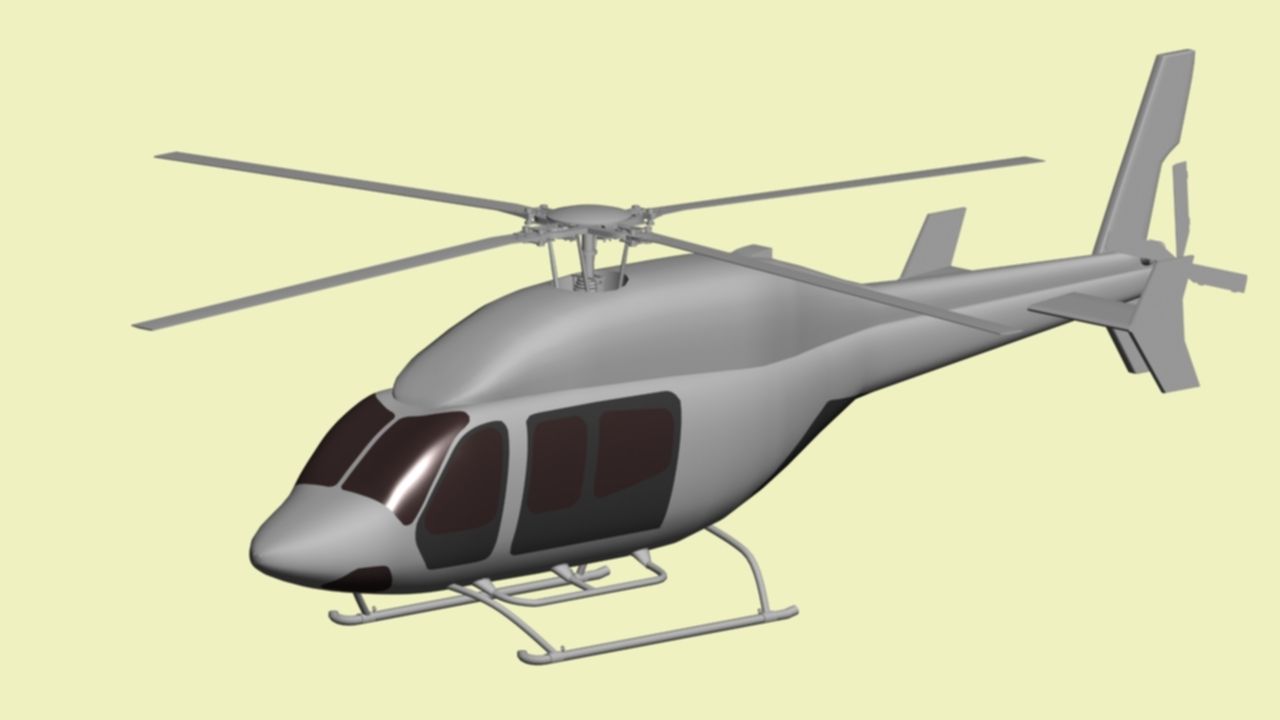
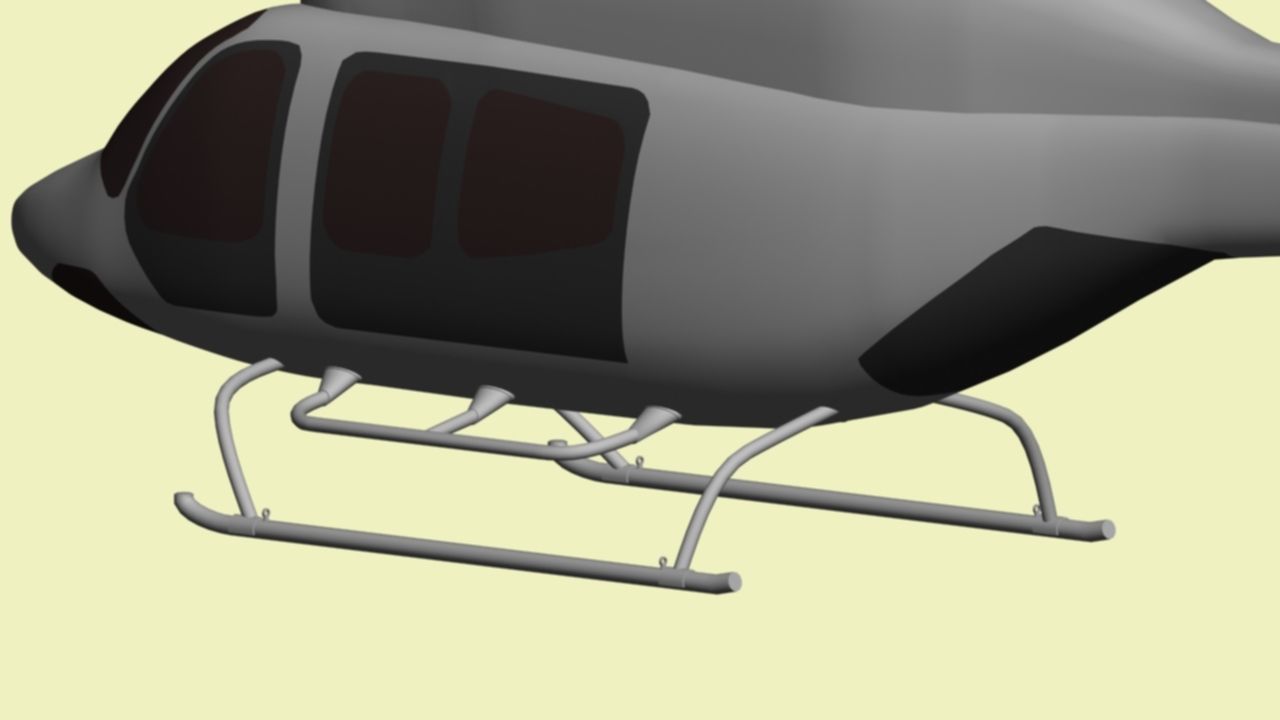
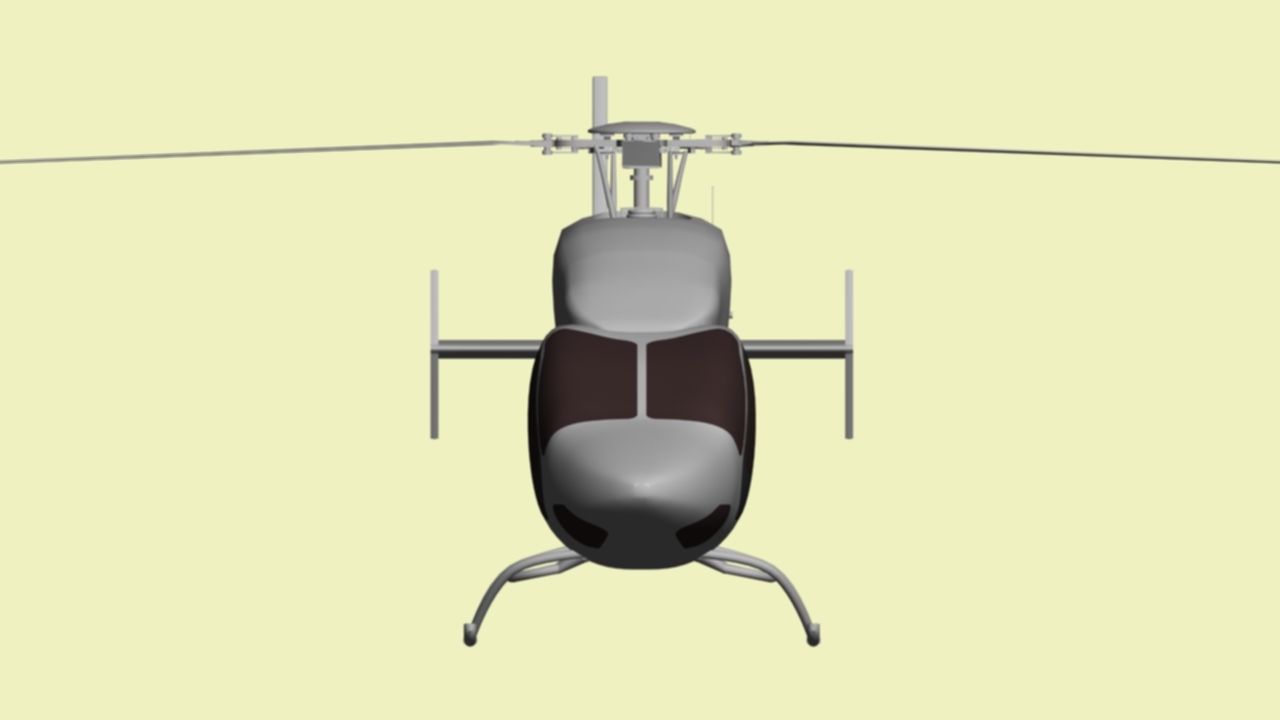
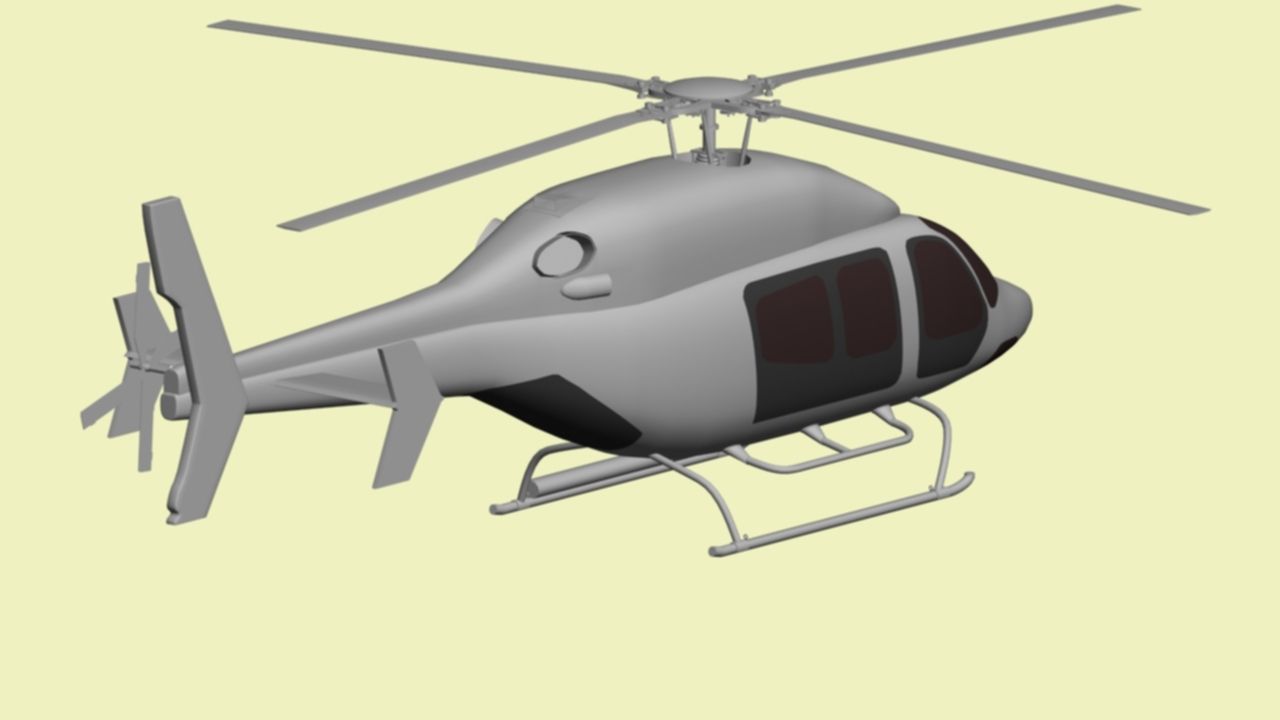
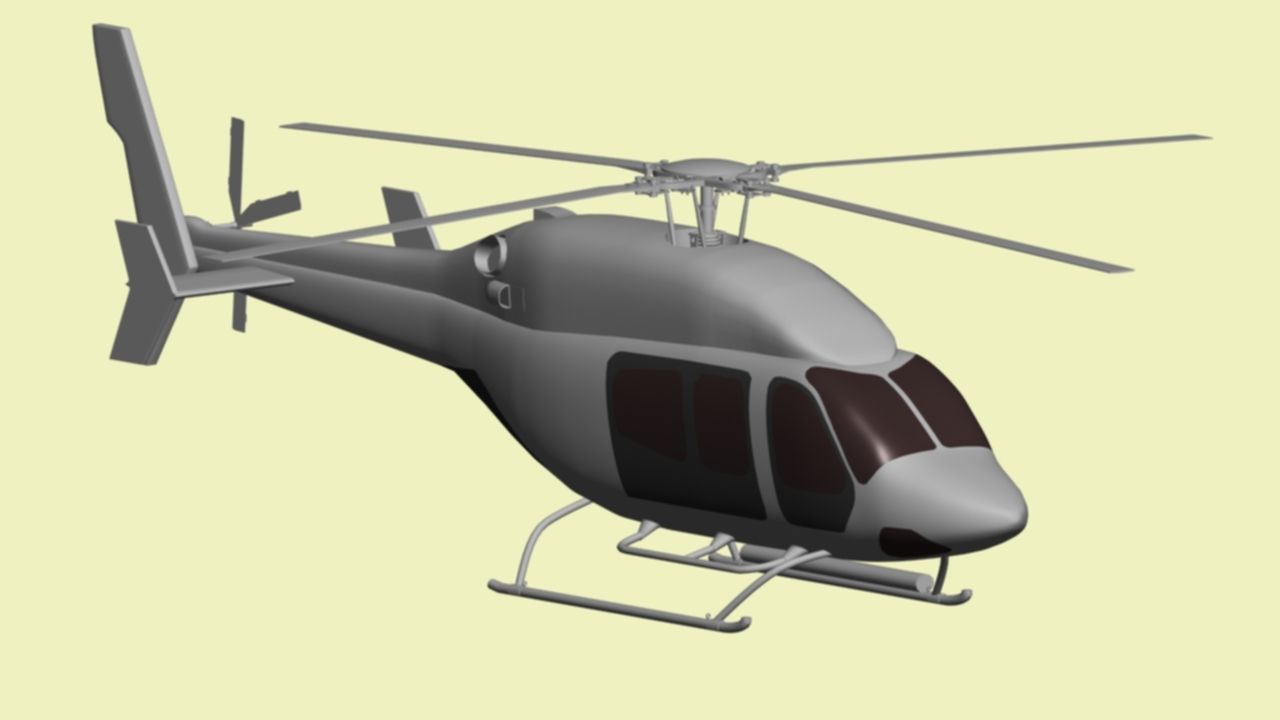
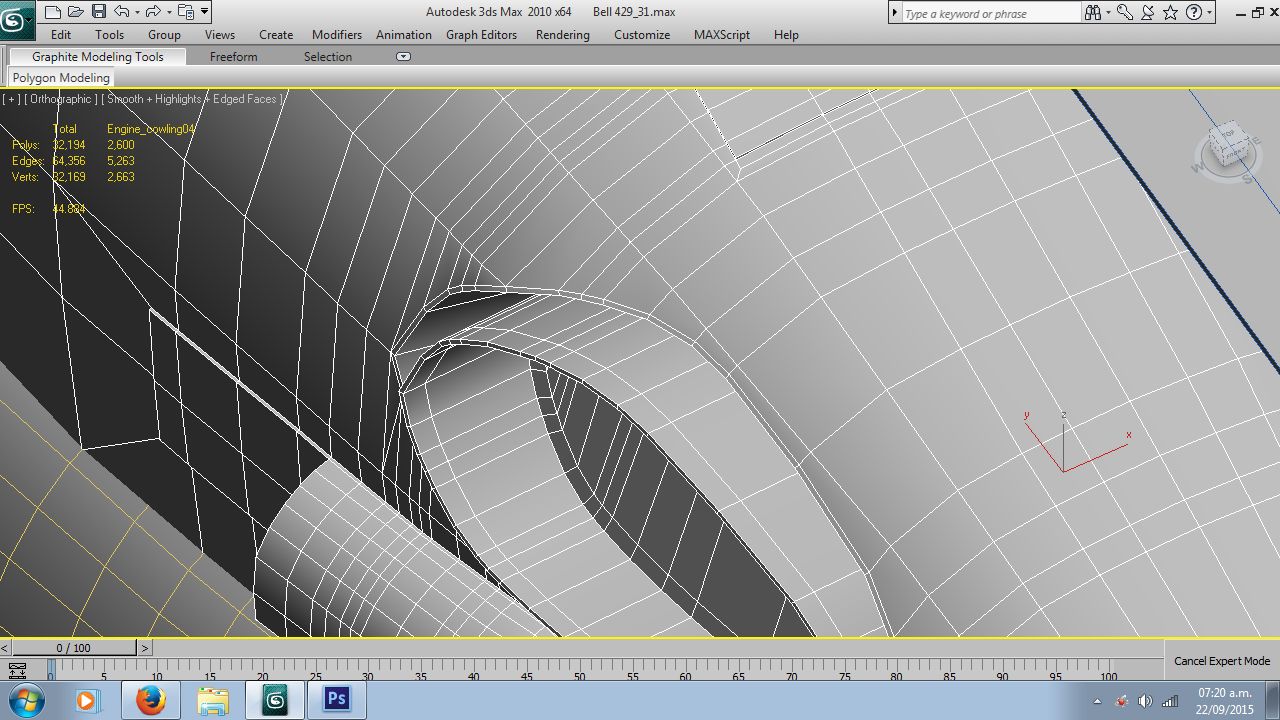
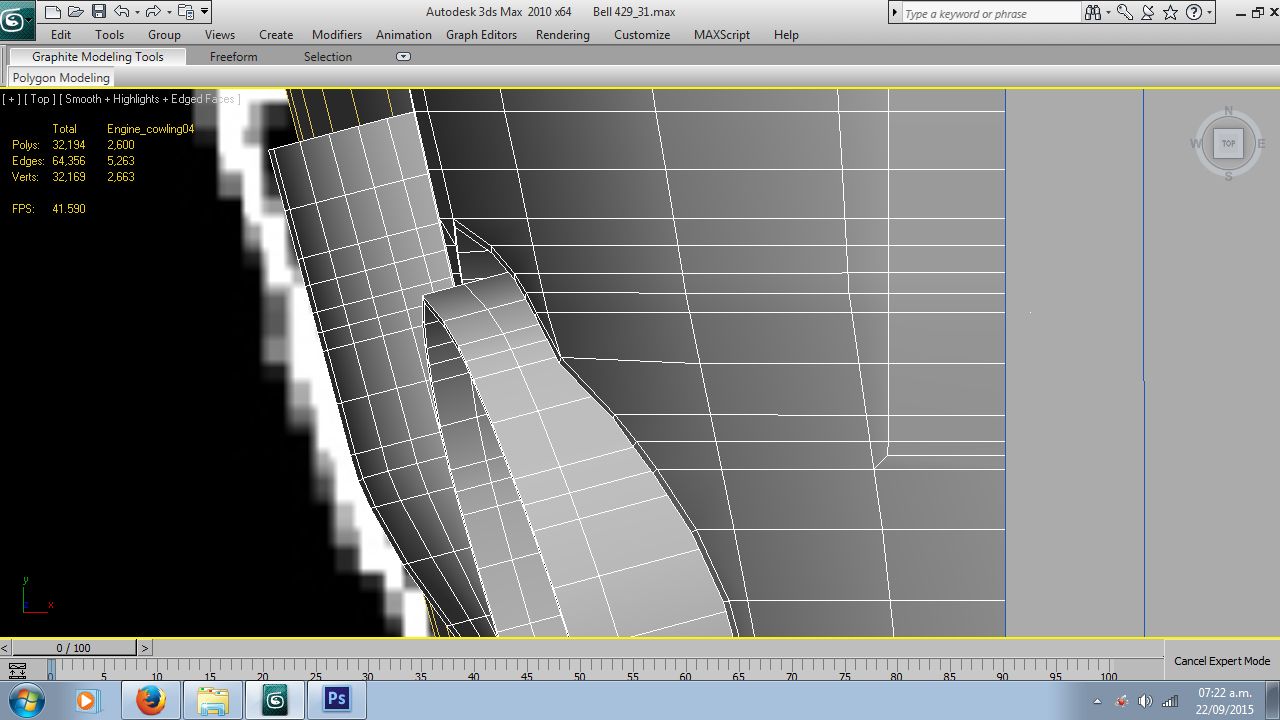
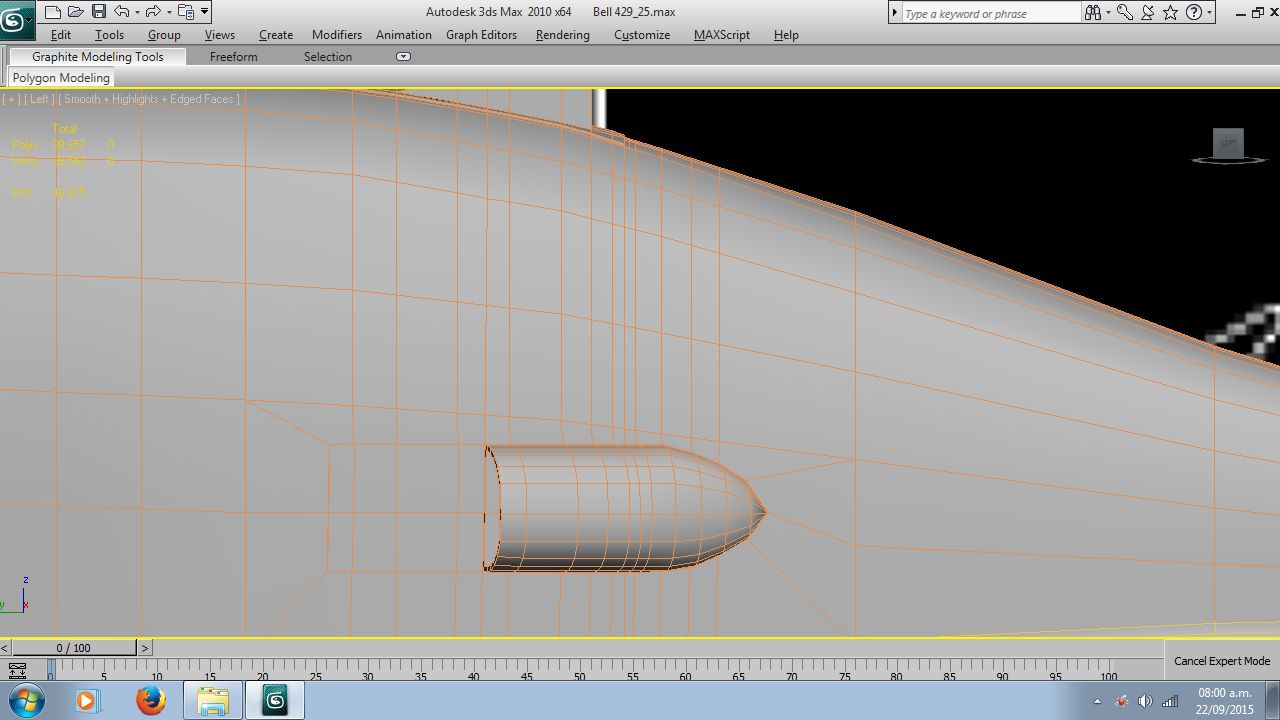
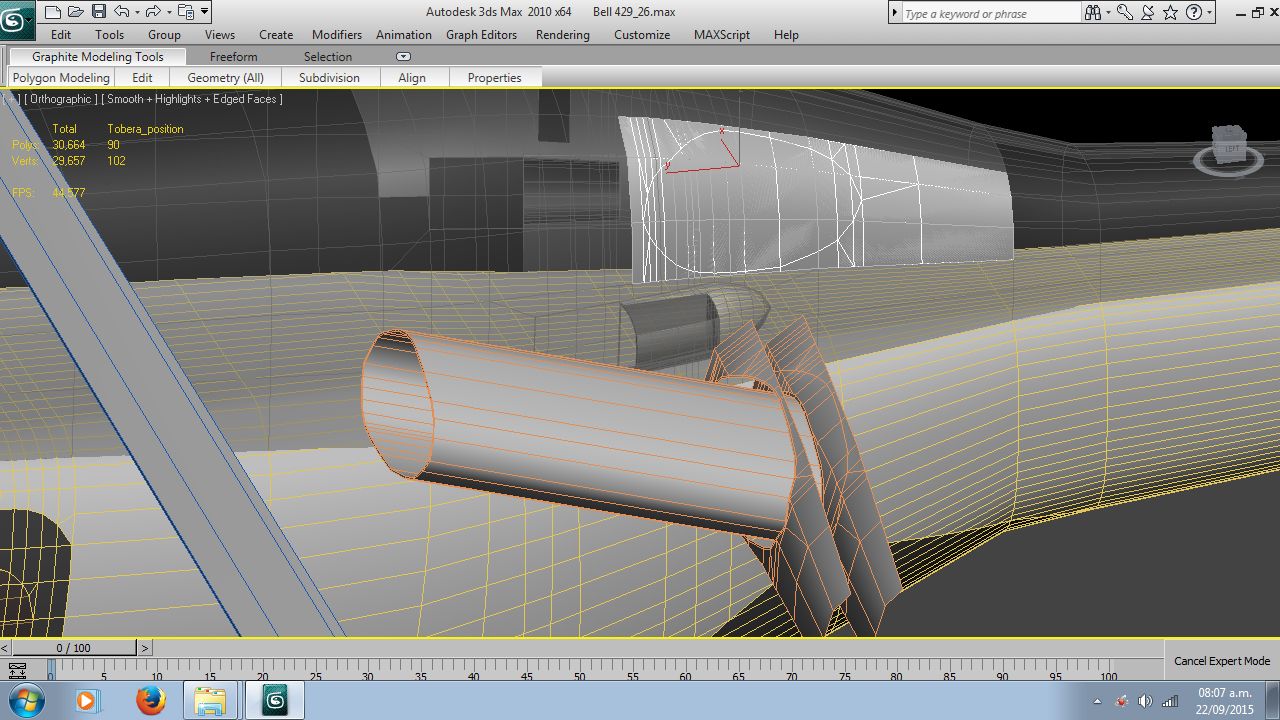
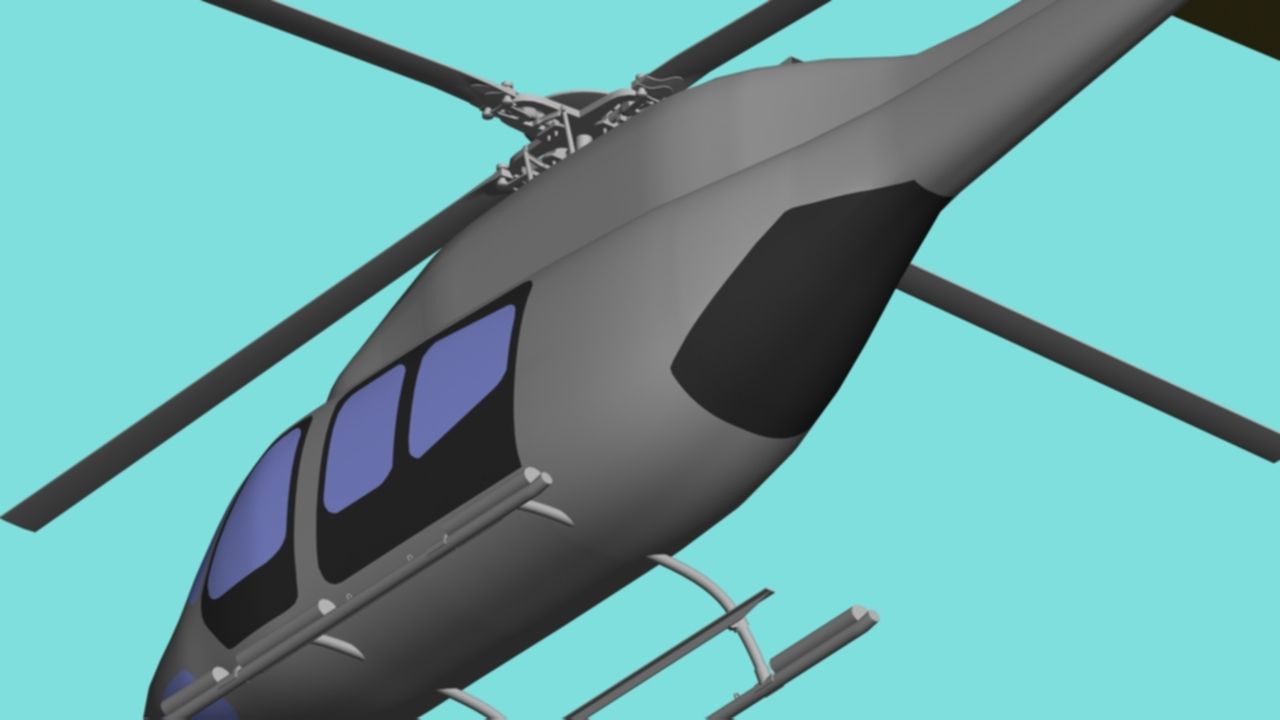
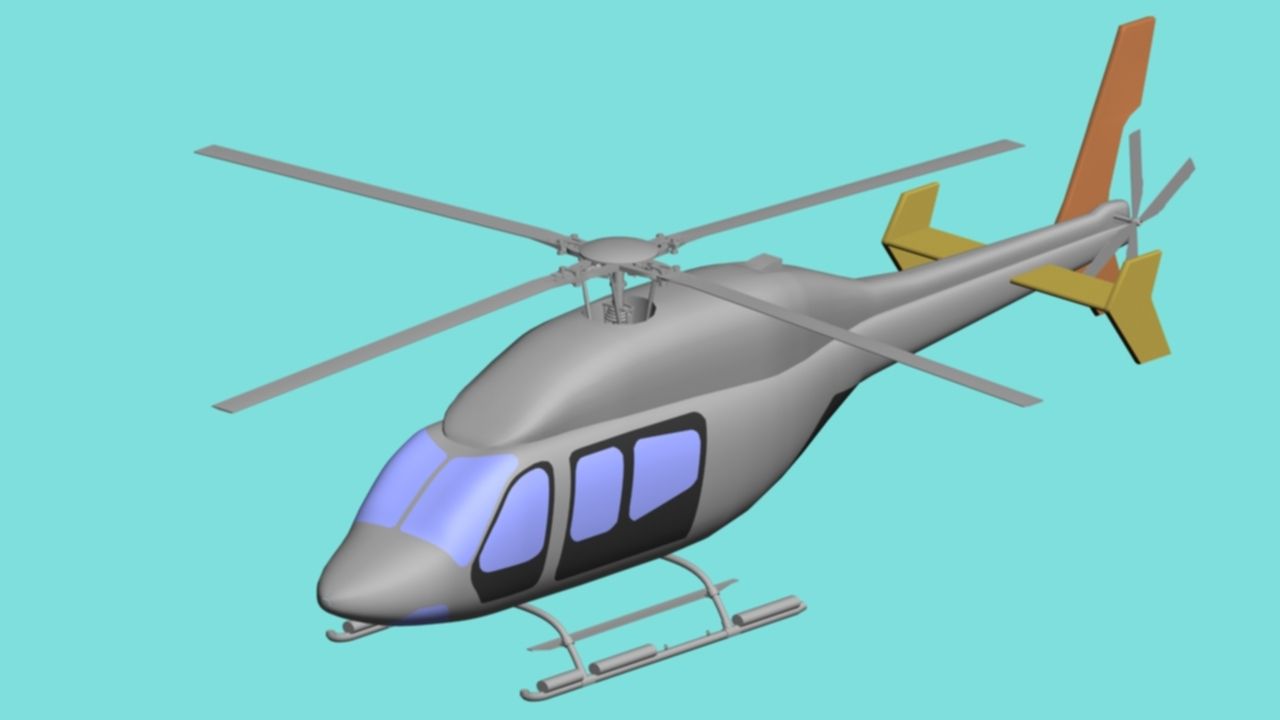
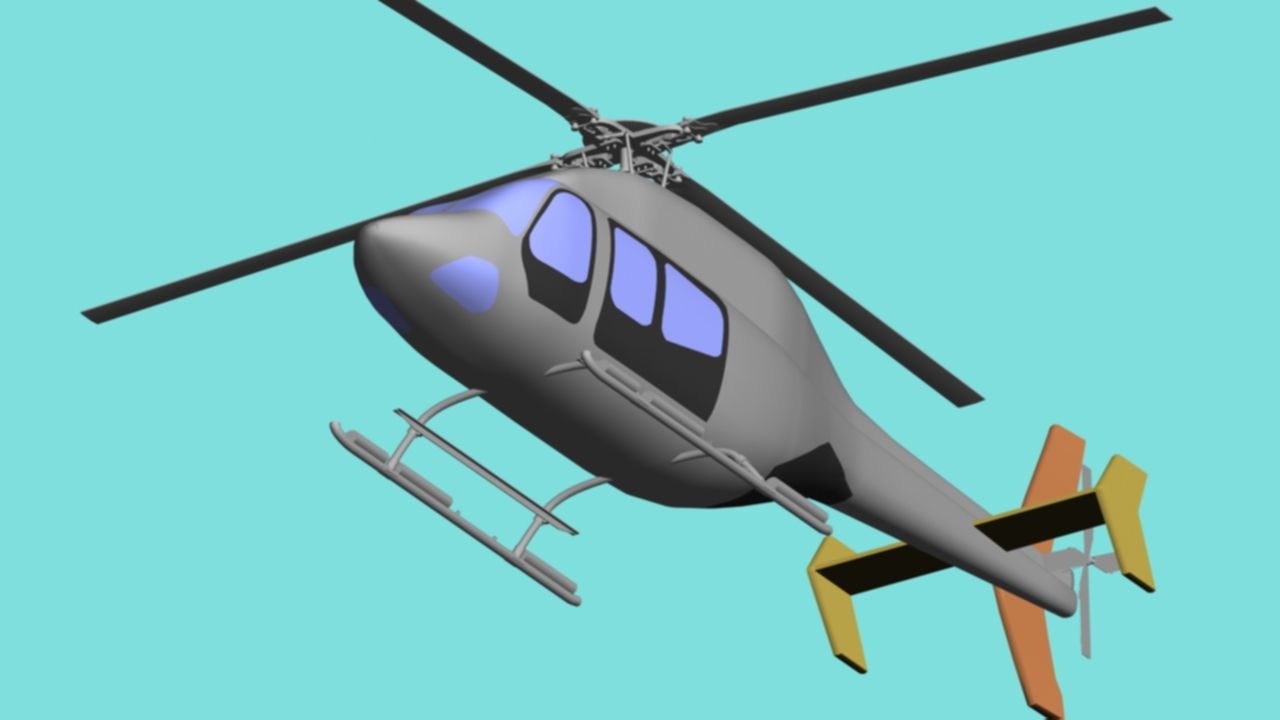
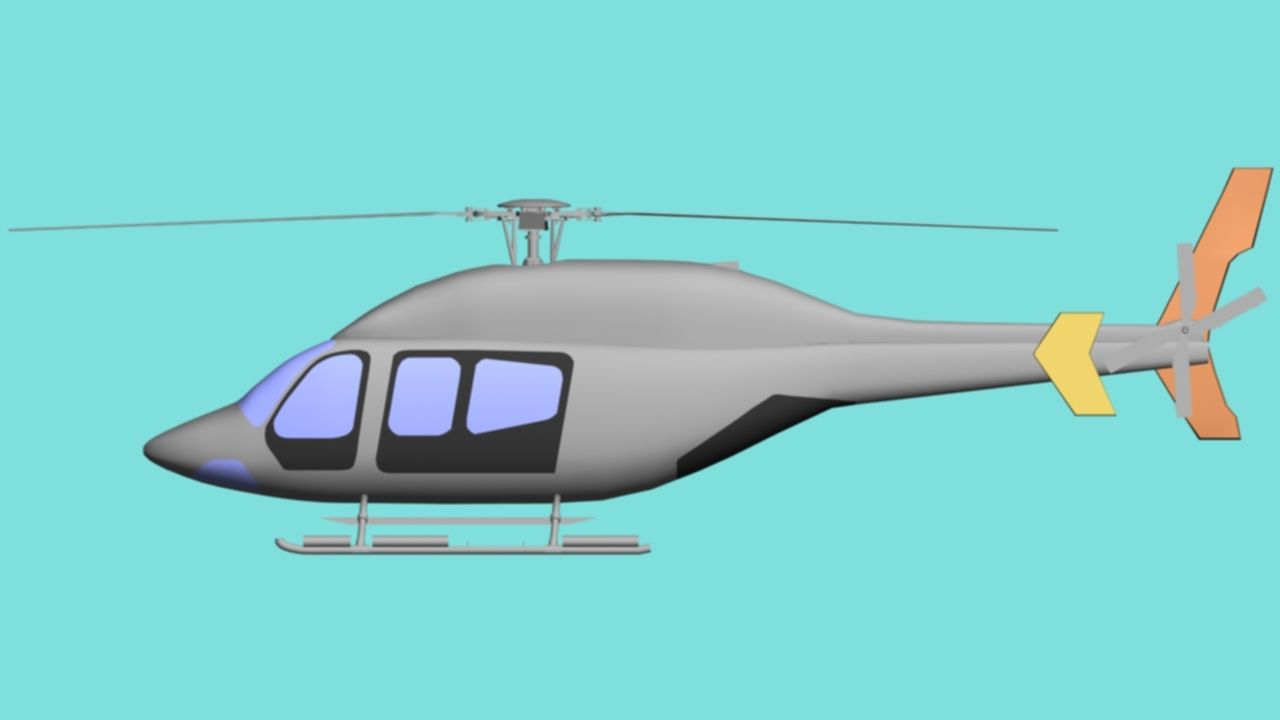
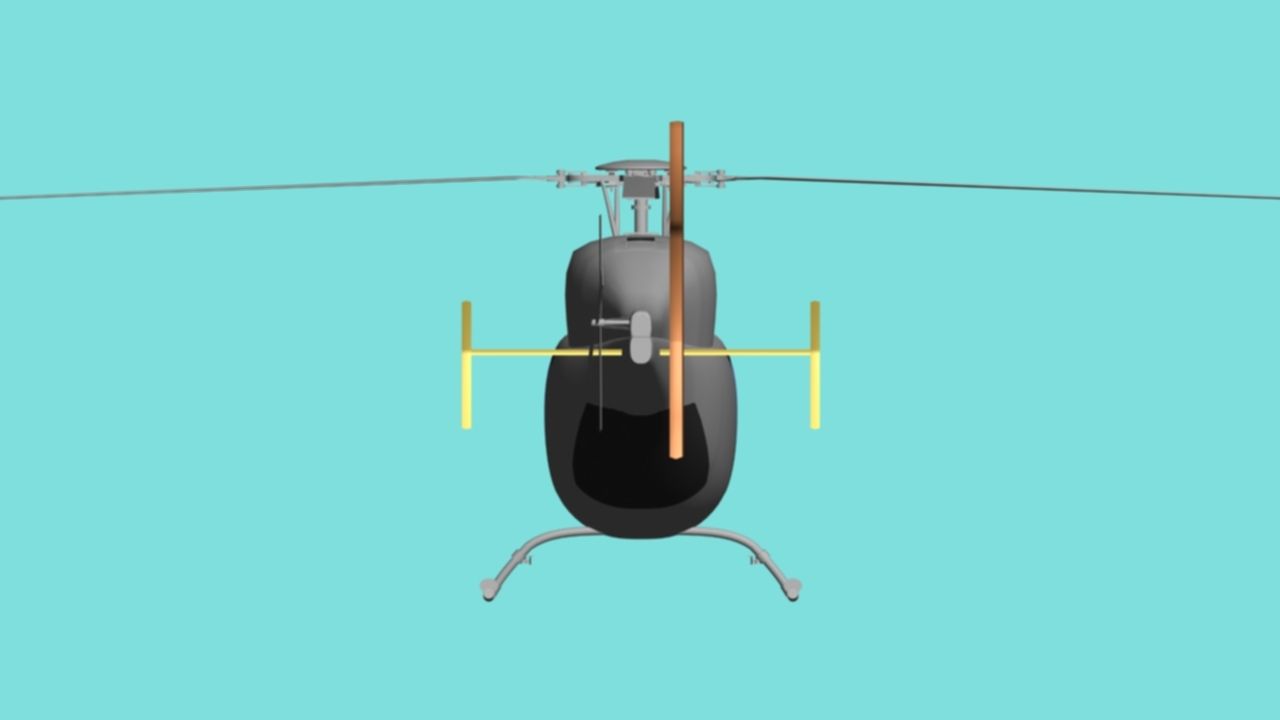
After a lot of drawbacks and wear, this is the first glimpse of what might be my model... She looks a little bit better, of course a lot of work is ahead; however I feel much better after so many failed attempts. I took borrowed from the 407 the main rotor, tail rotor and skids just to get the first idea; not that bad, huh? :D:D:D

First_429_05.jpg


First_429.jpg


First_429_04.jpg


First_429_02.jpg


First_429_03.jpg


Thank you friends for your kind words and support.

Kindest regards,
Your friend Sergio.
:)
 
Messages
1,451
Country
mexico
Bill

You always have been there for me. Also, I want to thank you one more time for your valuable teachings and comforting words.
Let's see what awaits to her in the future. ;)

Best regards,
Your friend Sergio.
:wave:
 
Messages
1,451
Country
mexico
:D:D:D

Thanks Nate, as soon as I get her right I will send you all Max files up to date. By the way, did you check the files which I already send you? :scratchch :scratchch :scratchch
Check the last conversations we had! :duck: :duck: :duck:

How is the EC155 going? Sincerely I can wait to have it! If she'll be payware, send me a PM with a head up of where to buy! ;) ;) ;)

Cheers mate.
Sergio
 
Messages
1,451
Country
mexico
Thanks AJ

Let me first how it goes in FS9 and hopefully some of our friends will try to help me in this matter in the future.

I've been working in the tail rotor drive shaft, side steps and skids:

First_429_08.jpg


First_429_06.jpg


First_429_07.jpg


First_429_09.jpg


Keep the green side down! :p
 
Last edited:

Paul Domingue

Resource contributor
Messages
1,530
Country
us-california
Sergio,

Two things I've noticed from the pictures, the enjoyment you derive from modelling and a love of this particular aircraft on your part. Very nice work.

Paul
 
Messages
1,451
Country
mexico
Hello Paul

Thanks for your kind words and yes, I love this aircraft and took it as a "personal project". Still, there are several issues with the mesh that I don't like and I am struggling hard to enhance. Some of the errors I have spotted, are related to the reference images I have. In this case, I will try to improvise.

Wish me luck!
Sergio.
:D
 
Last edited:
Messages
460
Country
germany
Looking good Sergio. May make a suggestion though. Take a look at the housing near the exhaust ports. From the rear view, it looks a little jagged. Did you boolean that? or how did you make the holes? I have completely stopped using boolean, and started using vertex snap, and cut edge mode in the edit poly rollout. First, create a tube in the shape you want, and place it how you want on the part you want to cut. Then, select snap to vertex in the Snaps selection. Select edge mode, and then cut. When you are over a vertext, the crosshairs will turn green, then click. Do this completely around the shape you want and viola....hole is cut, and follows the geometry perfectly.
 
Messages
1,451
Country
mexico
Hello Nate

I did not used booleans for that part; I made it as you are suggesting. Also, I utilized a special technique that I learned from Arrimus:

The main problem, is that the housing area is not "turbo-smoothed" and I had a few segments to work. Unfortunately, I had to use pure extrusions to get that result (which I don't like either). Perhaps, I will take a few steps back and redo this part. :confused::confused::confused:

First_429_13.jpg


First_429_14.jpg


I can see here where is the problem... :censored::censored::censored::censored:
First_429_15.jpg


On the other hand, I was experimenting with the best way to map the parts I have at this moment. I am trying the "planar approach" and that promises something... Though I am still learning how to do it.

I am learning a lot, however I have a long trip still to be traveled.
Thanks for your kind words.
Sergio.
:wave:
 
Last edited:
Messages
1,451
Country
mexico
I forgot this pics, the first before creating the nozzles:
First_429_18.jpg


Developing the piece using Xref and clones:
First_429_19.jpg


Another angle aftermath:
First_429_16.jpg


On the other hand, I use booleans to cut this:
First_429_17.jpg


The secret to booleans is to prepare the geometry before any cut. I must say, this was an easy one, a main view not compromising any weird angle between boolean operations. o_Oo_Oo_O
 
Last edited:
Messages
460
Country
germany
Ok...a couple of things I see here.....First, way too many unneeded edges! While it may look good in Max, it will cause massive headaches when you start cutting holes, or when you want to start using NURMS or Turbosmooth. You only need about 1/3 of what you have right now. Secondly, look at the exhaust nozzle towards the front of it. See how it comes to a point on yours? I would have pulled that point in or chamfered it before moving on to making the hole. From there I would have used to technique I told you and made the hole, and not extruded it like you did. I would have just made a opening.
An example of this is the rear housing on the EC155. Notice on where the exhaust is, it has the optical illusion that there is something back there? That's because there is! I used the shell modifier on the housing once I had all the cuts in place, and selected all interior polys and detached them. Then I mapped them to an all black space on the texture sheet. This way you can pull the exhaust nozzle further in to the housing and use a gradient to give the appearance that the nozzle goes further in that what it actually does.
Without doing it this way, as soon as light hits that one poly the illusion that the nozzle goes deeper, no matter how good the texture is, is up. Make sense?
 
Last edited:
Top