

- Messages
- 777
- Country

Based on a conversation found here I have decided to start a new thread instead of driving that one further off topic.
The gist of that discussion was polys and texture verts in regards to performance and how to best model in Sketchup. Note that this is all my opinion and I might be wrong.
OK, we start with recreating CathayA340's building in SU, based on dimensions from Google Earth.
Here we have the base shape of the building with some construction lines (or C-lines, I call 'em guidelines) in place to establish the front recess on the building.
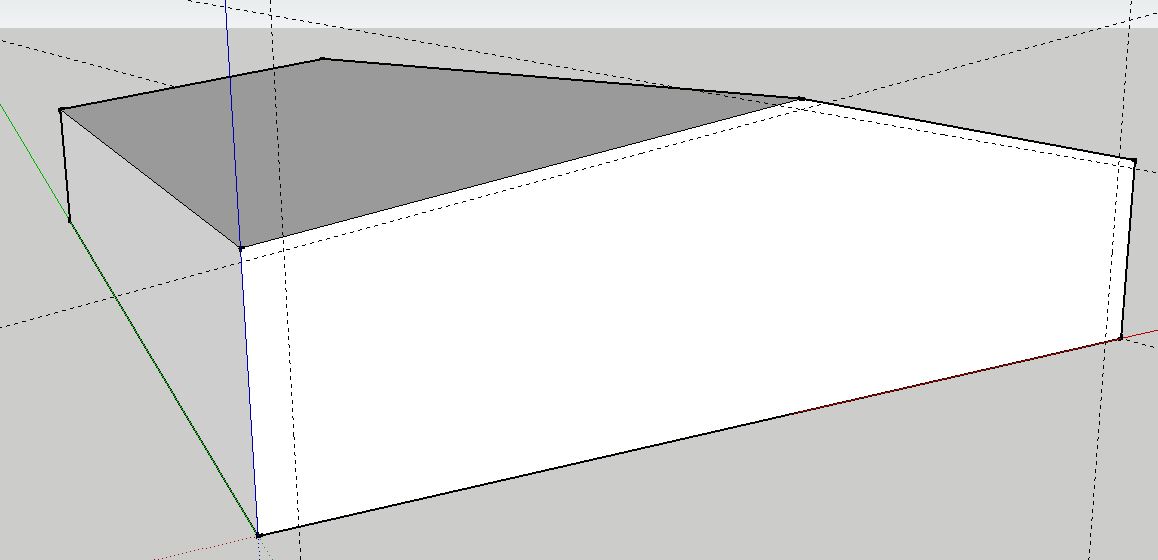
A thought about Groups, to work with the SU 'sticky' modeling I think it best to use Groups as much as possible. At this point I would select the entire building and make it a group. Always remember that there is a difference between working in a group and working on a group.
Next I have used the Line tool to draw the recess on the guidelines and pushed it in a foot.
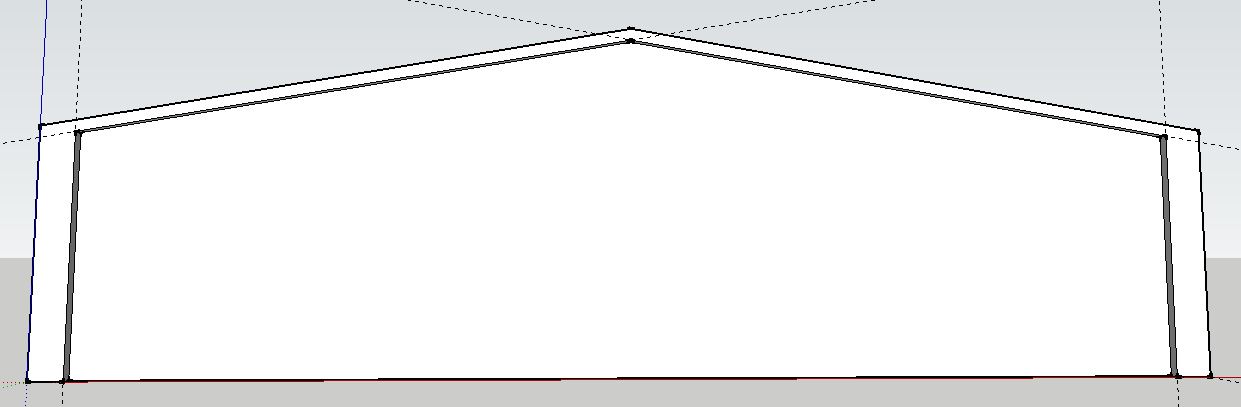
Now I will right click on the face and "Select > bounding edges", then right click again and make it a group.
Here I have zoomed out enough to draw a selection box around the entire building, Shift+clicked on the face group to deselect it and hid the rest of the building.
After opening the group I have started to lay out the polys for the door textures using guidelines for accurate scaling. I would continue to lay out, and then texture, everything that lays on this face.
Again, it is important to do this work in the group and not on it.
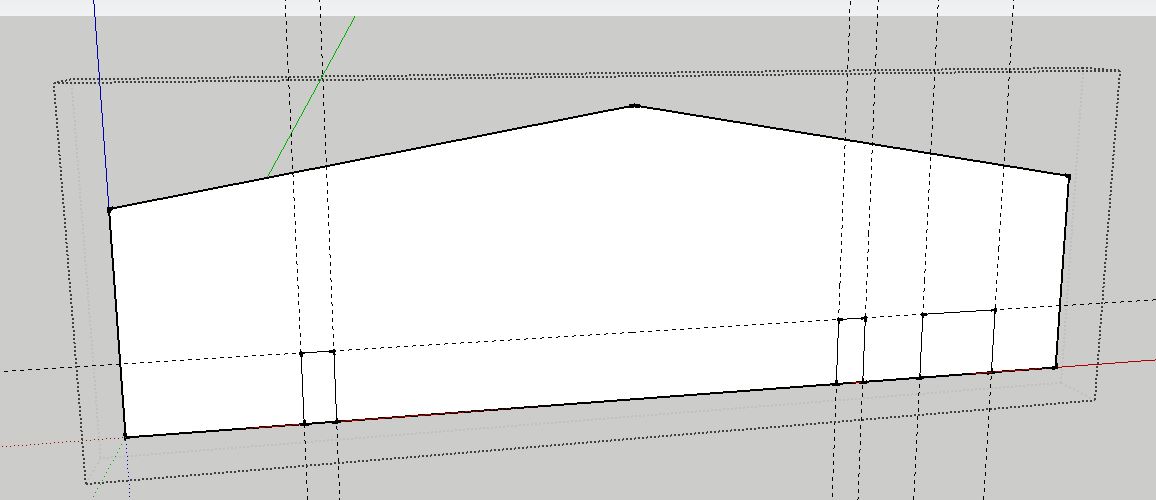
After all elements on that face are textured you can select them all and right click which will give you the option to combine textures. This will give you a unique texture for this face and remove all of the polys for the doors, etc.
At this point, if you wanted to recess any polys in this face you could do so. Any elements that will lay over this face should be left for later.
Now it is time to add the column that will lay over the face. Note that I am adding them on the group and not in the group. I have laid out the perimeter of the columns using guidelines.
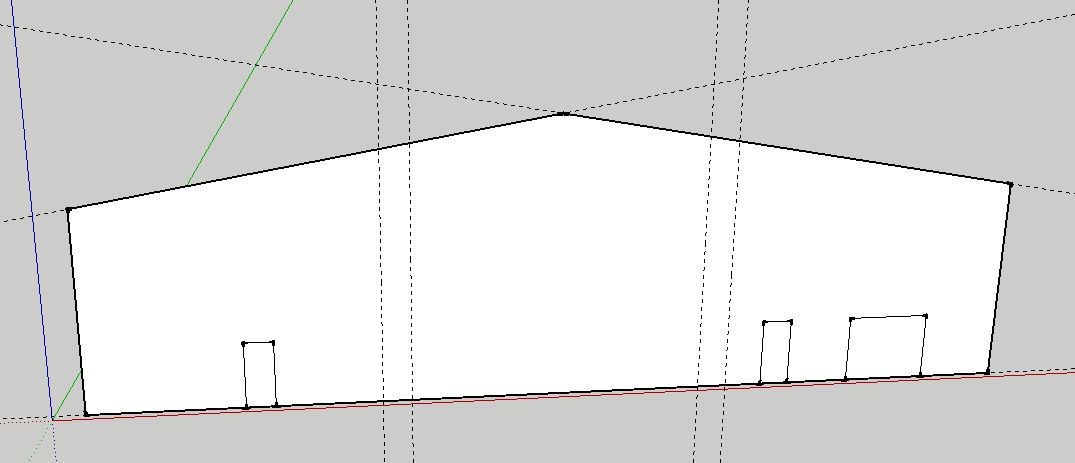
After hiding the face group you can see that I have drawn the columns with the Line tool and pulled them out a foot.
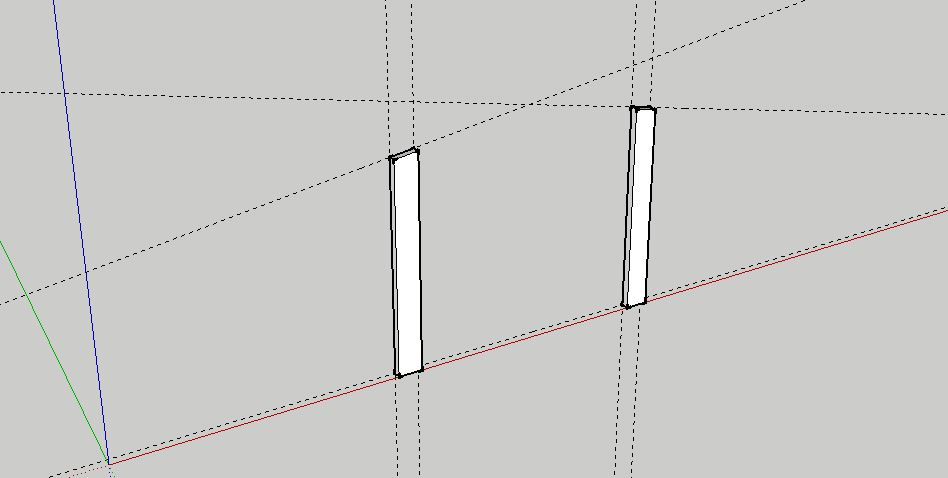
Spinning them around you can see that I have removed some geometry that will not be seen in the finished model. No reason to have the sim take the time to draw something that will never be seen.

And now for some exporting to Model Converter X.
For the first export I left the groups intact and also left the door polys to show how badly they fracture the face. This is where combining the textures would be a benefit.
This export nets 56 polys and 80 T-verts.

For this next export I exploded all of the groups, welding the columns to the face. This results in a poly count of 68 and T-verts are up to 88.
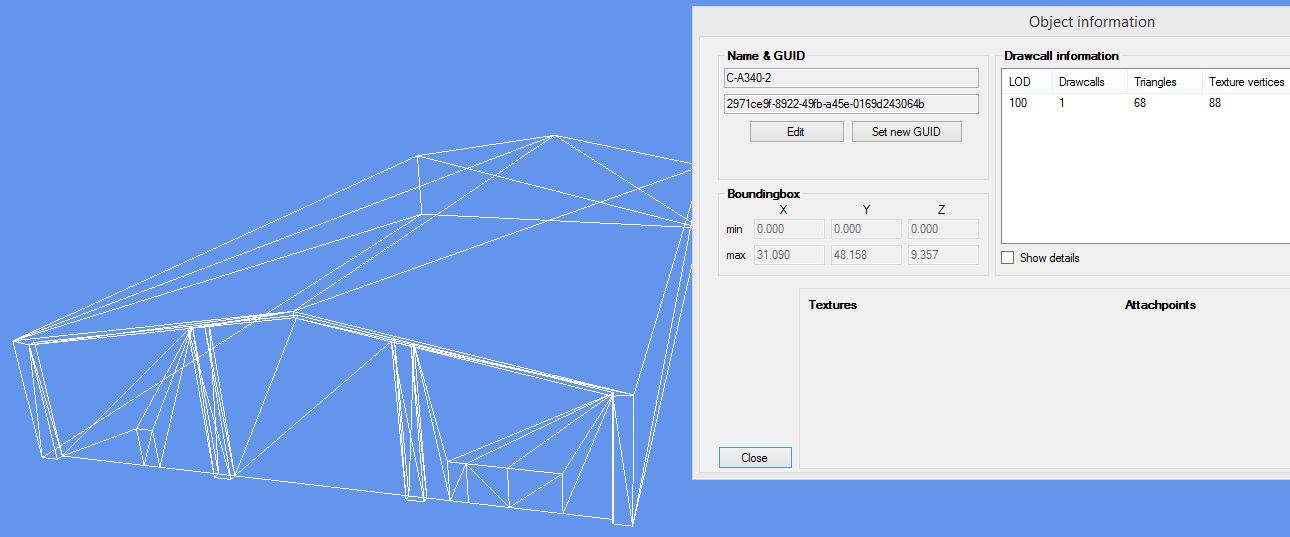
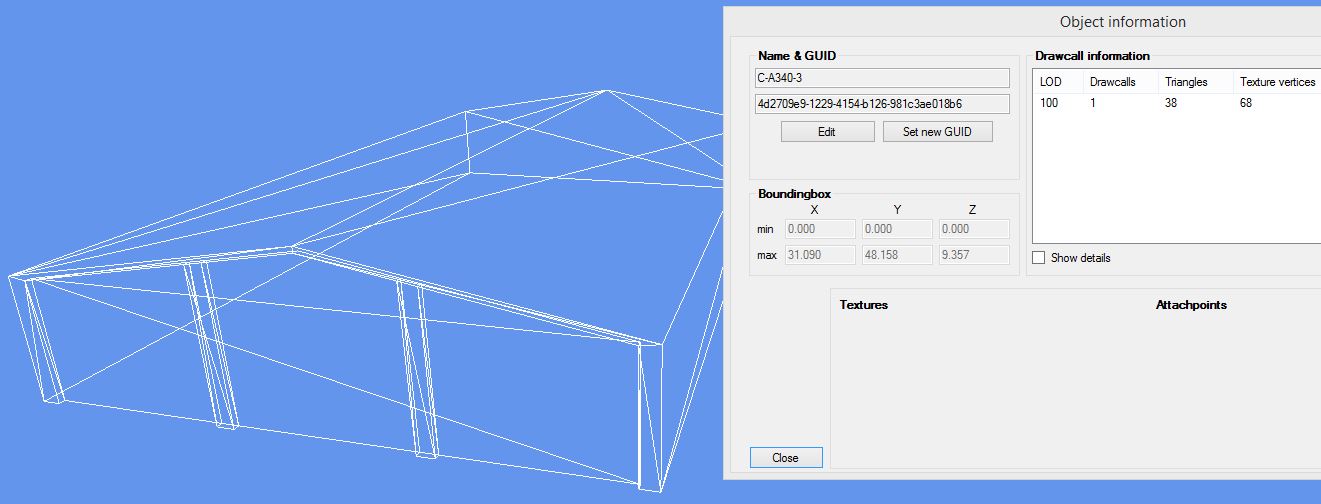
The last export shows the benefit of combining the textures on the face, eliminating the door polys, and leaving the groups intact. Polys are down to 38 with only 68 T-verts.
Lastly, with any SU model, when you export it into MCX take a look at the Material Editor.
SU has an export option to export two-sided faces. You do not want to do this as it will add the default SU color to any untextured faces and add to the drawcall count. If you do texture both sides of some faces they will export fine, without the two-sided texture option being checked.
If you do have any surfaces that are the default color you can remove them with the Material Editor. Unless you want them to be that color, of course.
Also, if you geo-locate your building in SU and export it as a .kmz file SU will automatically export two-sided textures, so you will want to remove the default colors from your model.
While you have the Material Editor open, run the Drawcall Minimizer and it will combine as many textures as it can, reducing drawcalls. At this point you can also assign a night texture to your building, though you will have to create it yourself, all you are doing is telling the sim that this model has a night texture.
There you go, hopefully this will help those that use SU make more efficient model for FS.
Comments and critiques are welcome
cheers,
Lane
The gist of that discussion was polys and texture verts in regards to performance and how to best model in Sketchup. Note that this is all my opinion and I might be wrong.
OK, we start with recreating CathayA340's building in SU, based on dimensions from Google Earth.
Here we have the base shape of the building with some construction lines (or C-lines, I call 'em guidelines) in place to establish the front recess on the building.
A thought about Groups, to work with the SU 'sticky' modeling I think it best to use Groups as much as possible. At this point I would select the entire building and make it a group. Always remember that there is a difference between working in a group and working on a group.
Next I have used the Line tool to draw the recess on the guidelines and pushed it in a foot.
Now I will right click on the face and "Select > bounding edges", then right click again and make it a group.
Here I have zoomed out enough to draw a selection box around the entire building, Shift+clicked on the face group to deselect it and hid the rest of the building.
After opening the group I have started to lay out the polys for the door textures using guidelines for accurate scaling. I would continue to lay out, and then texture, everything that lays on this face.
Again, it is important to do this work in the group and not on it.
After all elements on that face are textured you can select them all and right click which will give you the option to combine textures. This will give you a unique texture for this face and remove all of the polys for the doors, etc.
At this point, if you wanted to recess any polys in this face you could do so. Any elements that will lay over this face should be left for later.
Now it is time to add the column that will lay over the face. Note that I am adding them on the group and not in the group. I have laid out the perimeter of the columns using guidelines.
After hiding the face group you can see that I have drawn the columns with the Line tool and pulled them out a foot.
Spinning them around you can see that I have removed some geometry that will not be seen in the finished model. No reason to have the sim take the time to draw something that will never be seen.
And now for some exporting to Model Converter X.
For the first export I left the groups intact and also left the door polys to show how badly they fracture the face. This is where combining the textures would be a benefit.
This export nets 56 polys and 80 T-verts.
For this next export I exploded all of the groups, welding the columns to the face. This results in a poly count of 68 and T-verts are up to 88.
The last export shows the benefit of combining the textures on the face, eliminating the door polys, and leaving the groups intact. Polys are down to 38 with only 68 T-verts.
Lastly, with any SU model, when you export it into MCX take a look at the Material Editor.
SU has an export option to export two-sided faces. You do not want to do this as it will add the default SU color to any untextured faces and add to the drawcall count. If you do texture both sides of some faces they will export fine, without the two-sided texture option being checked.
If you do have any surfaces that are the default color you can remove them with the Material Editor. Unless you want them to be that color, of course.
Also, if you geo-locate your building in SU and export it as a .kmz file SU will automatically export two-sided textures, so you will want to remove the default colors from your model.
While you have the Material Editor open, run the Drawcall Minimizer and it will combine as many textures as it can, reducing drawcalls. At this point you can also assign a night texture to your building, though you will have to create it yourself, all you are doing is telling the sim that this model has a night texture.
There you go, hopefully this will help those that use SU make more efficient model for FS.
Comments and critiques are welcome
cheers,
Lane
