Hi Gary,
Thanks a lot on getting back to me!
I am really confused. You mean, texture first a door for example, then texture a wall and make that texture "unique" in Sketchup?
Is there an option under Texture to make it unique
?
Where would I combine the textures at the end?
Sorry to take some of your time.
I have done textures for X-Plane but they don't allow more than one Texture file per model, I was wondering if the same applies to FSX/P3D exports that each model needs to have just one texture PNG file.
Teo
Hi Teo:
IIUC, you have stated that you already imported textures for your wall.
In Sketchup, you can texture the entire wall (either as one single section, or as multiple textured sub-sections or "faces"), and the door ...in any order that you wish.
When you are ready to 'combine' the various faces which make up the wall surface, (assuming they are all exactly in the same 3D plane of the wall or "coplanar"), choose one of the faces with a single left mouse click so that it has the blue dot pattern' indicating that it is "selected", then right click and choose "
Make Unique Texture" from the pop-up context menu.
Next, while holding down the < CTRL > key on your keyboard, single left mouse click on each of the faces that you want to combine into one texture so that they all have the 'blue dot pattern' indicating that they are "selected".
Now, release the < Ctrl > key, and right-click on one of the selected faces, then choose "
Combine Textures" from the pop-up context menu.
Sketch up will pop up a prompt: "
Do you want to erase interior edges ?"; choose [
Yes].
You now have a one-piece texture for the entire wall surface.
NOTE: If you need to import another texture for
ex: a door, you can use the method that Rick describes above, or you can:
1.) Pre-'select' the face to be textured, then navigate:
Sketchup menu > File > Import > {Open Dialog}
2.) In {Open Dialog}:
* Set 'Files of type': "
All Supported Image Types"
* 'Tick' radio button: "
Use as texture"
* Browse and choose desired texture file name and file type
* 'Click' [Open] button
3.) Position the Paint bucket cursor over the bottom left corner of the face to be textured
4.) Click-hold the left mouse button, then drag over / up to the right side and/or top right corner of a face to be textured
5.) Left click to finish applying the imported texture image.
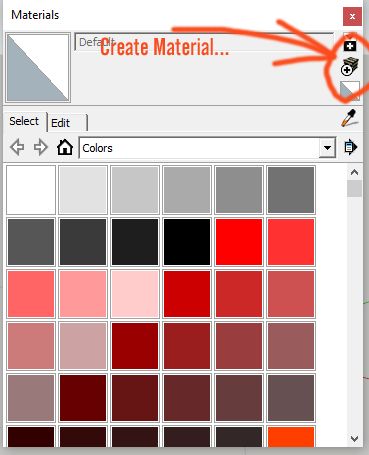
NOTE: The imported texture image is now added to the Material browser within the "
In Model" section.
BTW: Depending on what pixel dimensions (Rows x Columns) you end up with for individual textures mapped onto the sides and roof of a building, you may be able to fit all those individual texture images adjacent to each other on 1 large texture sheet (aka "Texture Atlas" in other 3D application syntax).
If so, your building will have only a minimum of 'draw calls' when rendered by FS at run time; this is good for performance.
However, if needed, more than 1 texture sheet can be used for each object in FS, unlike with X-Plane.
Arno's ModelConverterX (aka "MCX") '
Draw Call Minimizer' can create such Texture Atlases for imported 3D models.
https://en.wikipedia.org/wiki/Texture_atlas
PS: Rick's method above for importing a texture into the Sketchup Material Browser via the {Edit} tab can be used in conjunction with another recommended step when 3D modeling, that is reported to further improve FS and other 3D rendering engine run time performance.
* In the Material Browser {Edit} tab "Texture" sub-section, 'check' "
Use Texture Image"
* Fill in the Horizontal and Vertical dimensions of the real world size in the 3D model that the texture image is intended to be mapped onto.
NOTE: This sets the Texture Pixel (aka "Texel") density or "pixels per Meter" dimensions for the texture image with respect to the intended FS run time rendering of the finished 3D model scenery object.
FYI: Generally speaking, it is preferred that one use identical (or very close to identical) Texel density for all textures mapped onto each side / roof or other "surface" of a texture-mapped object, to facilitate accurate and fast calculation by the FS rendering engine at run time, of MIPMAP and LOD switching parameters for scenery objects (based on each objects on-screen pixel size at one's user aircraft camera viewing distance).

Hope this explains a bit more clearly than I originally did above !
")
GaryGB


")

